Welcome to a quick tutorial on how to create a very simple PHP image gallery. Tired of all those complicated gallery plugins on the Internet?
Creating a no-database PHP image gallery is as easy as getting a list of image files using glob() and outputting them in HTML.
$images = glob("PATH/GALLERY/*.{jpg,jpeg,gif,png,bmp,webp}", GLOB_BRACE);foreach ($images as $i) { echo "<img src='gallery/". rawurlencode(basename($i)) ."'>"; }
Yep, just like that in 1 minute. But how does this work exactly? Let us walk through a no gimmicks image gallery in this guide – Directly reads image files from a folder, no database required. Read on!
TABLE OF CONTENTS
DOWNLOAD & NOTES
Here is the download link to the example code, so you don’t have to copy-paste everything.
EXAMPLE CODE DOWNLOAD
The example code is released under the MIT license, so feel free to build on top of it or use it in your own project.
SORRY FOR THE ADS...
But someone has to pay the bills, and sponsors are paying for it. I insist on not turning Code Boxx into a "paid scripts" business, and I don't "block people with Adblock". Every little bit of support helps.
Buy Me A Coffee Code Boxx eBooks
PHP SIMPLE IMAGE GALLERY
All right, let us now get into creating the very basic image gallery – Requiring only a few lines of PHP code, it’s so simple that you will laugh all the way to the moon.
TUTORIAL VIDEO
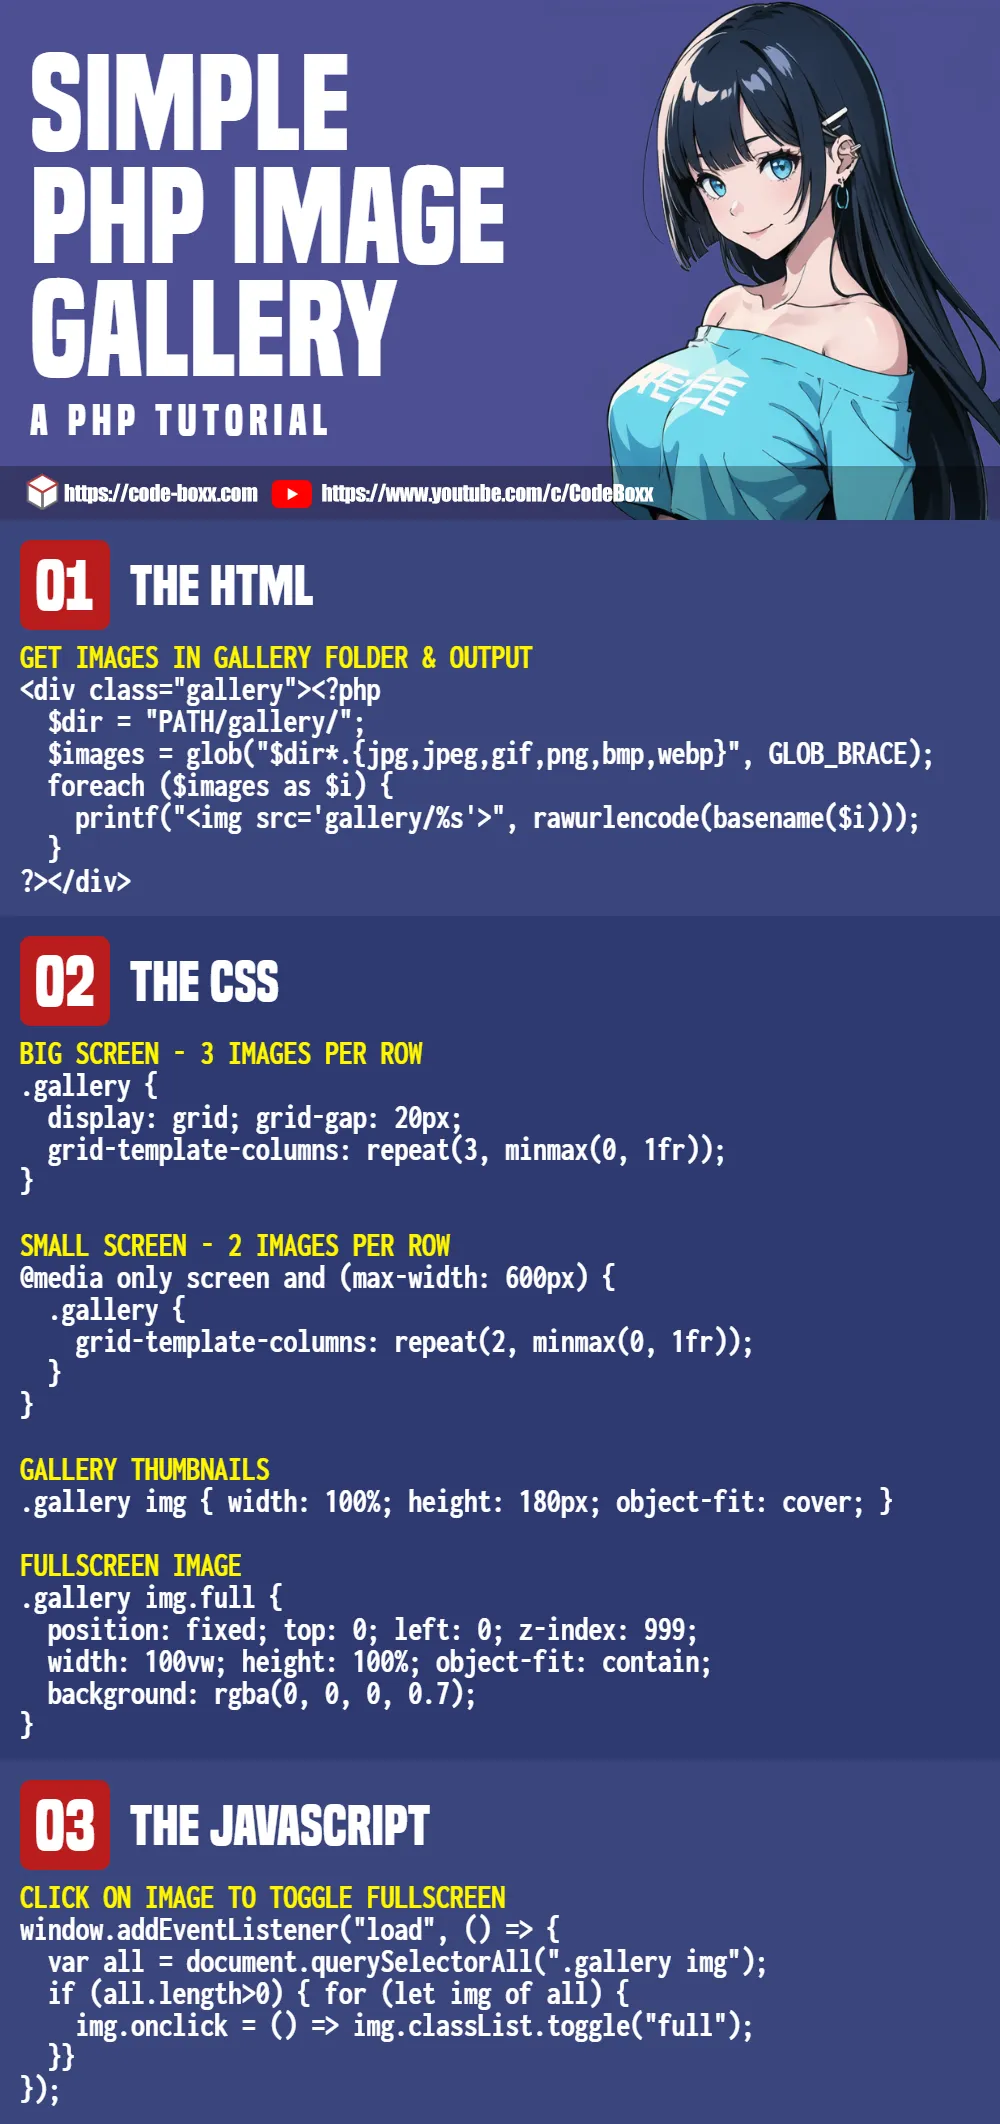
STEP 1) GET IMAGES & OUTPUT AS HTML
<!-- (A) CSS & JS -->
<link href="1b-gallery.css" rel="stylesheet">
<script src="1c-gallery.js"></script>

<div class="gallery"><?php
  // (B) GET IMAGES IN GALLERY FOLDER
  $dir = __DIR__ . DIRECTORY_SEPARATOR . "gallery" . DIRECTORY_SEPARATOR;
  $images = glob("$dir*.{jpg,jpeg,gif,png,bmp,webp}", GLOB_BRACE);

  // (C) OUTPUT IMAGES
  foreach ($images as $i) {
    printf("<img src='gallery/%s'>", rawurlencode(basename($i)));
  }
?></div>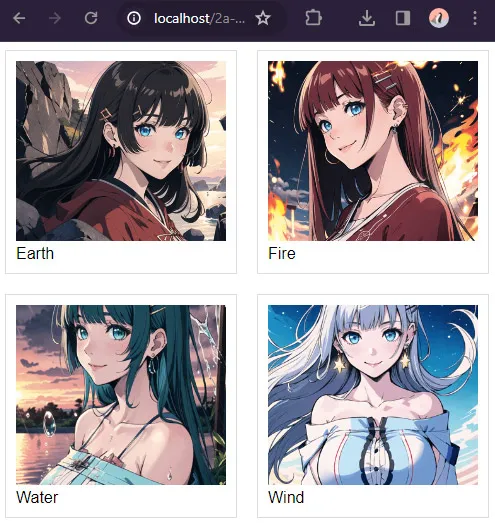
Yep, that’s all to the gallery page. As in the introduction, all we are doing here is –
- (B) Get a list of image files from the gallery folder using
glob(). - (C) Output them as HTML
<img>tags in<div class="gallery">.
STEP 2) CSS GRID LAYOUT
/* (A) GALLERY WRAPPER */
.gallery {
  /* (A1) GRID LAYOUT - 3 IMAGES PER ROW */
  display: grid;
  grid-template-columns: repeat(3, minmax(0, 1fr));
  grid-gap: 20px;

  /* (A2) OPTIONAL WIDTH RESTRICT */
  max-width: 1000px;
  margin: 0 auto;
  overflow: hidden;
}

/* (B) GALLERY IMAGES */
.gallery img {
  /* (B1) DIMENSION */
  width: 100%;
  height: 180px; /* optional */
  padding: 10px;

  /* (B2) COLORS */
  border: 1px solid #ddd;
  background: #fff;

  /* (B3) IMAGE RESIZE */
  /* cover | contain | fill | scale-down */
  object-fit: cover;
}

/* (C) ON SMALL SCREENS - 2 IMAGES PER ROW */
@media only screen and (max-width: 600px) {
  .gallery {
    grid-template-columns: repeat(2, minmax(0, 1fr));
  }
}

/* (D) OPTIONAL ZOOM ON HOVER */
.gallery img:hover {
  z-index: 9;
  transform: scale(1.3);
  /* linear | ease | ease-in | ease-out | ease-in-out */
  transition: transform ease 0.5s;
}

/* (E) FULLSCREEN MODE */
.gallery img.full {
  position: fixed;
  top: 0; left: 0; z-index: 999;
  width: 100vw; height: 100%;
  object-fit: contain;
  background: rgba(0, 0, 0, 0.7);
}
.gallery img.full:hover {
  z-index: 999;
  transform: none;
}
Of course, we are not so “barbaric” to throw out raw images without cosmetics.
- (A1)
display: grid; grid-template-columns: repeat(3, minmax(0, 1fr));will lay out in a “nice gallery format” of 3 images per row. - (B)
width: 100%; height: 180px;to set a “uniform dimension” on all images. - (B)
object-fitis the “image scale to fit” behavior. Change this and see for yourself, choose one that you like. - (C) On smaller screens, change the layout to 2 images per row.
- (E) When the user clicks on an image, we toggle a
.fullCSS class on it. Long story short,.fullsimply sets the image to cover the entire screen.
STEP 3) JAVASCRIPT TOGGLE FULLSCREEN IMAGE
window.addEventListener("DOMContentLoaded", () => {
  // (A) GET ALL IMAGES
  var all = document.querySelectorAll(".gallery img");

  // (B) CLICK ON IMAGE TO TOGGLE FULLSCREEN
  if (all.length>0) { for (let img of all) {
    img.onclick = () => img.classList.toggle("full");
  }}
});- On window load, get all the gallery images.
- On clicking the image, toggle the
.fullCSS class – This will show the image in fullscreen.
EXTRAS
That’s it for all the code. Here are some extras that may be useful to you.
EXTRA) FILENAME AS IMAGE CAPTION
foreach ($images as $i) {
  $img = basename($i);
  $caption = substr($img, 0, strrpos($img, "."));
  printf("<figure><img src='gallery/%s'><figcaption>%s</figcaption></figure>",
    rawurlencode($img), $caption
  );
}
Since there is no database, there is nowhere we can store the captions. But we can still use the file name as the caption of the images – This is just a small modification to the PHP to also output the <figcaption>.
EXTRA) SORTING THE IMAGES
usort($images, function ($file1, $file2) {
  return filemtime($file2) <=> filemtime($file1);
});usort($images, function ($file1, $file2) {
return filemtime($file1) <=> filemtime($file2);
});sort($images); // low to high
rsort($images); // high to low
EXTRA) MULTIPLE CATEGORIES & FOLDERS
<h1>CATEGORY A</h1>
<div class="gallery"><?php
  $images = glob(FOLDER A);
  foreach ($images as $i) { printf("<img src='FOLDER A...'>"); }
?></div>

<h1>CATEGORY B</h1>
<div class="gallery"><?php
  $images = glob(FOLDER B);
  foreach ($images as $i) { printf("<img src='FOLDER B...'>"); }
?></div>
Just put your images into different category folders, and repeat the “get list of files and output HTML”. Of course, this is good as a “quick fix” only. Not recommended if you have a dozen folders.
EXTRA) INCLUDE VIDEOS
// (A) GET IMAGES & VIDEOS
$media = glob("$dir*.{jpg,jpeg,gif,png,bmp,webp,avi,mp4}", GLOB_BRACE);

// (B) OUTPUT HTML
foreach ($media as $i) {
  $parts = pathinfo($i);
  if ($parts["extension"]=="avi" || $parts["extension"]=="mp4") {
    printf("<video src='gallery/%s' controls></video>", basename($i));
  } else { printf("<img src='gallery/%s'>", basename($i)); }
}
But the problem is – How to deal with video playback. Play while in the thumbnail size? Or engage in full-screen mode first? Check out the video gallery tutorial below if you want more.
INFOGRAPHIC CHEATSHEET
COMPATIBILITY CHECKS
- Arrow Functions – CanIUse
- CSS Grid – CanIUse
- Transition – CanIUse
This simple gallery will work on any modern browser.
USEFUL LINKS
- Simple PHP Video Gallery – Code Boxx
- Very Simple Responsive Image Gallery (Pure HTML CSS) – Code Boxx
- Simple Javascript CSS Slideshow – Code Boxx
THE END
Thank you for reading, and we have come to the end of this short tutorial. I hope that it has helped you to create a better (and simpler) image gallery, and if you have anything to share with this guide, please feel free to comment below. Good luck and happy coding!
HI,
This is a great tutorial. Works wonderfully for my image gallery. But can you help me add a close button and left/right arrows once the image is opened in full size in the lightbox?
Thanks
https://code-boxx.com/faq/#help
This tutorial is amazing! Thank you for this.
I’ve been playing with the code and I’m wondering how I could have multiple instances of this PHP code on the same page showing galleries from different folders as separate elements. Is that possible?
Updated. See above.
Hi how do I make this gallery work with portrait pictures as well as landscape? Thanks
It already does.
If you find that { object-fit: cover; } changes the aspect ratio of narrow portrait photos (as I found it did for me, though I understand it’s not supposed to), you can use { object-fit: contain; } instead.
Great and detailed tutorial! Very impressed with how fast you reply to questions! 🙂
I have two questions that I cannot find in the answer for in the guide or in the previous comments.
1. How could I create an area with text below or above the lightbox image? For example a button to open image in new tab, or show the image title/name?
2. I understand I can upload from multiple folders. I would love to have a sorting option by image tags. For example sort by car-images or sort by fruit-images. Is there a way to set a tag to each image?
Thank you very much in advance!
Just add a
<div>into the lightbox?<div id="lfront"><div id="lbcaption"></div></div>.But given all your requirements – There is no database to store captions, tags, titles, nor are there additional data that can be used for “custom sorting”. I will highly recommend you look for a “full-featured gallery”, or building on top of this is going to be a long painful process…
1. How to add additional folders? 2-3-4-5 of them and so on?
2. support for mp4’s?
glob(FOLDER . "*.{FILE EXTENSION}", GLOB_BRACE)simply returns an array of files, so –* Just add the video files (
.mp4, .webm, .avi) to the list of file extensions.* Just use
$images = array_merge($images, glob(FOLDER 2, ...))for more folders.* In the
forloop, check for video files (hint:file_info()function), and generate<video>tags instead of image.* Update the CSS and Javascript to also support video.