Welcome to a tutorial and example of how to download a file using Javascript Fetch. Want to initiate a file download using Javascript Fetch? Yes, it is possible.
To download a file using Javascript fetch, return the result as a blob, and create a download link to the blob object.
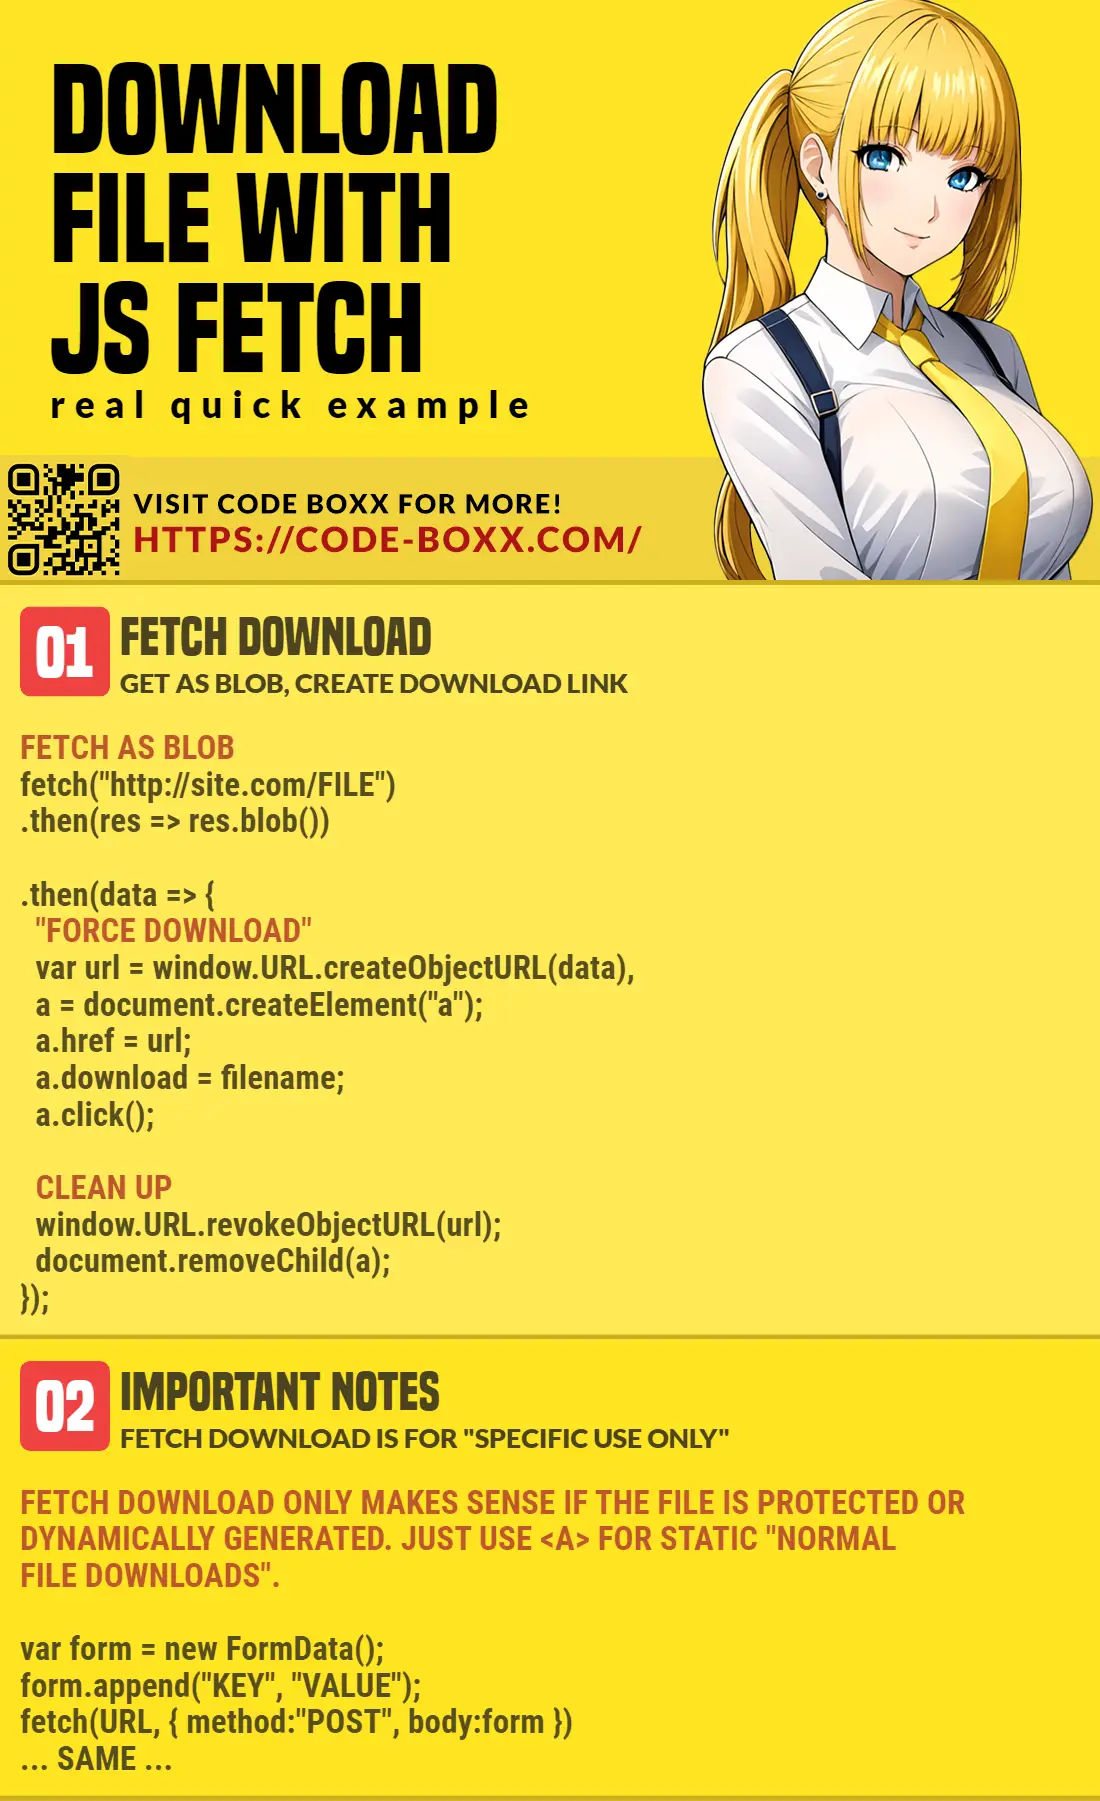
fetch("URL").then(res => res.blob()).then(data => {var a = document.createElement("a");a.href = window.URL.createObjectURL(data);a.download = "FILENAME";a.click();});
That should cover the basics, but if you need more concrete examples – Read on!
TLDR – QUICK SLIDES
[web_stories_embed url=”https://code-boxx.com/web-stories/javascript-fetch-file-download/” title=”Javascript Fetch File Download” poster=”https://code-boxx.com/wp-content/uploads/2021/11/STORY-JS-20230518.webp” width=”360″ height=”600″ align=”center”]
Fullscreen Mode – Click Here
TABLE OF CONTENTS
FETCH DOWNLOAD

All right, let us now get into the example of downloading a file using Javascript fetch.
FETCH FILE DOWNLOAD
<script>
function fetchDown (url, saveas) {
  // (A) FETCH FILE
  fetch(url)

  // (B) RETURN AS BLOB
  .then(res => {
    if (res.status != 200) { throw new Error("Bad server response"); }
    return res.blob();
  })

  // (C) BLOB DATA
  .then(data => {
    // (C1) "FORCE DOWNLOAD"
    var url = window.URL.createObjectURL(data),
        anchor = document.createElement("a");
    anchor.href = url;
    anchor.download = saveas;
    anchor.click();

    // (C2) CLEAN UP
    window.URL.revokeObjectURL(url);
    document.removeChild(anchor);
  })

  // (D) HANDLE ERRORS - OPTIONAL
  .catch(err => console.error(err));
}
</script>

<input type="button" value="Download"
       onclick="fetchDown('orange.png', 'demo.png')">
This is the “full version” of the introduction snippet. This should be self-explanatory, but a quick walkthrough:
- Captain Obvious, the
fetch()request itself. - Return the server response as a
blobobject. Also, take note of theresult != 200check here. That’s right, fetch will consider it a success as long as there is a server response – Even when there are server errors such as 404 (not found) or 403 (unauthorized). So it is best to do a manual 200 (OK) check here. - Create a download link to the
blobobject, and revoke it after the download is initiated. - Handle errors. Optional, but highly recommended.
DOWNLOAD & NOTES

Here is the download link to the example code, so you don’t have to copy-paste everything.
SORRY FOR THE ADS...
But someone has to pay the bills, and sponsors are paying for it. I insist on not turning Code Boxx into a "paid scripts" business, and I don't "block people with Adblock". Every little bit of support helps.
Buy Me A Coffee Code Boxx eBooks
EXAMPLE CODE DOWNLOAD
Click here for the source code on GitHub gist, just click on “download zip” or do a git clone. I have released it under the MIT license, so feel free to build on top of it or use it in your own project.
EXTRA BITS & LINKS

That’s all for the tutorial, and here is a small section on some extras and links that may be useful to you.
IT WORKS, BUT…
I can understand the use of fetch to download a file that is protected or requires parameters to be generated dynamically.
// DATA TO BE ATTACHED
var form = new FormData();
form.append("KEY", "VALUE");

// FETCH - MAYBE GENERATE A DYNAMIC REPORT
fetch(url, { method:"post", body:form })
... SAME AS ABOVE ...
But for you guys who just want to offer a download on a static file, just use the HTML anchor tag – <a href="URL" download>. Yep, fetch download is cool, but don’t waste your time doing roundabout stuff.
LINKS & REFERENCES
- Fetch API – MDN
- Fetch Basic Auth – Code Boxx
- Fetch POST – Code Boxx
- Fetch GET – Code Boxx
INFOGRAPHIC CHEAT SHEET
THE END

Thank you for reading, and we have come to the end. I hope that it has helped you to better understand, and if you want to share anything with this guide, please feel free to comment below. Good luck and happy coding!
Very useful. Thanks!
Is it possibile to convert blob to text after file’s downloading?
Just return the fetch result as text –
fetch("URL").then(res => res.text()).Thank you very much. Very useful post
Greetings from Argentina