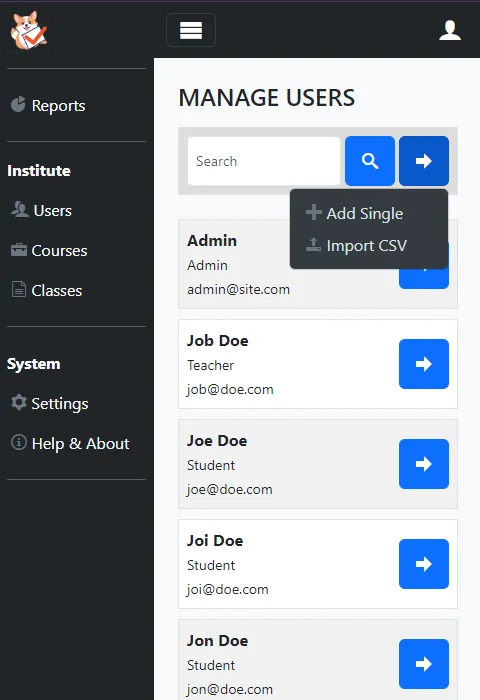
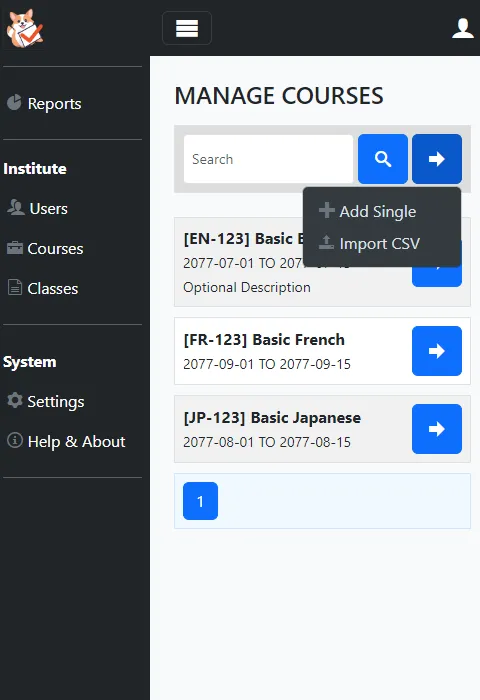
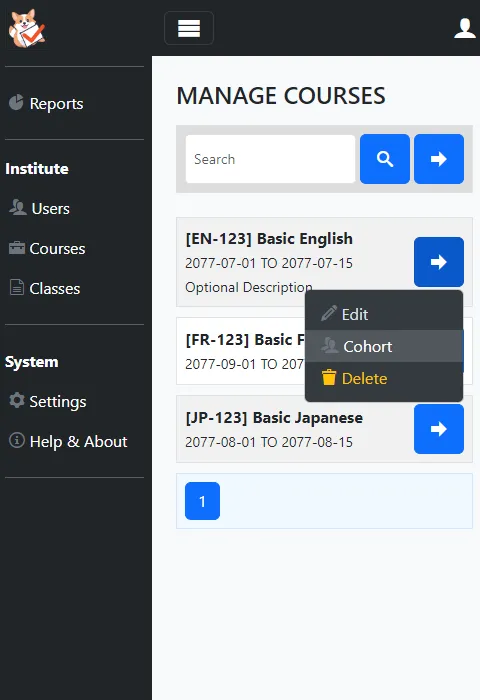
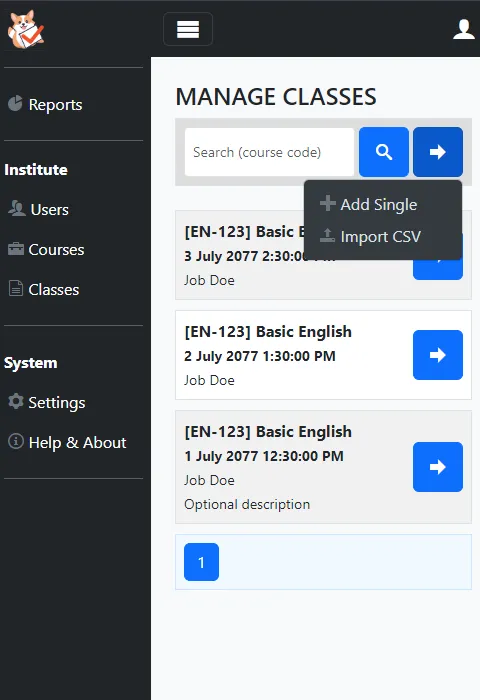
I Was Here is a simple PHP Student Attendance Management System. This is not a “we have a lot of features that you will never use” system, but a basic one to help smaller schools to get started quickly.
TABLE OF CONTENTS
DOWNLOAD & NOTES
First, here are the download links and a quick “setup guide” for the impatient folks who don’t have the patience to read through everything.
LICENSE & DOWNLOAD
I-Was-Here is released under the MIT License. You are free to use it for personal and commercial projects, and modify it as you see fit. On the condition that the software is provided “as-is”. There are no warranties provided and “no strings attached”. Code Boxx and the authors are not liable for any claims, damages, or liabilities.
SORRY FOR THE ADS...
But someone has to pay the bills, and sponsors are paying for it. I insist on not turning Code Boxx into a "paid scripts" business, and I don't "block people with Adblock". Every little bit of support helps.
Buy Me A Coffee Code Boxx eBooks
REQUIREMENTS
- LAMP/WAMP/MAMP/XAMPP
- Apache Mod Rewrite
- PHP MYSQL PDO Extension
- PHP OpenSSL Extension
- At least PHP 8.0
INSTALLATION
Just access http://your-site.com
in your browser and walk through the installer.
HOW TO USE
So far so good? Let us now go through a quick crash course on how to use I Was Here.
Fullscreen Mode – Click Here
I WAS HERE FAQ
I-Was-Here is “not working”? Here are a few of the common problems and how to “fix” them.
I DELETED ALL ADMIN ACCOUNTS
require "lib/CORE-Go.php";
$_CORE->load("Users");
$_CORE->Users->save("NAME", "EMAIL", "PASSWORD", "A");
Just create an “account recovery” script to create a new account (or update an existing one). Run and delete this afterward.
CHANGED DOMAIN OR PATH
- Update
HOST_BASE
inlib/CORE-Config.php
. Make sure to include the path (with a trailing slash) if not deployed at the base URL. E.G.http://site.com/storageboxx/
- Delete the existing
.htaccess
file. - Create
init.php
.require "lib/CORE-Go.php";
$_CORE->Route->init();
- Access
http://site.com/init.php
, this will automatically regenerate the.htaccess
file. - Delete
init.php
. - Clear the service worker and browser cache if you want to be “totally safe”.
PAGES ARE NOT RESOLVING OR SHOWING PROPERLY
- Make sure that
MOD_REWRITE
is enabled in Apache. - Make sure that
AllowOverride
is set properly in Apache. - If using
https://
, make sure that your SSL cert and virtual host are properly set. - In Mac/Linux, make sure that Apache/PHP has permission to read the files and folders.
Here is a quick “working example” of a test site on my WAMP server:
<VirtualHost site.com:443>
DocumentRoot "D:\http"
ServerName site.com:443
SSLEngine On
SSLCertificateFile "C:/xampp/apache/conf/ssl.crt/server.crt"
SSLCertificateKeyFile "C:/xampp/apache/conf/ssl.key/server.key"
<Directory "D:\http">
Options Indexes FollowSymLinks Includes ExecCGI
AllowOverride All
Require all granted
</Directory>
</VirtualHost>
MANUAL INSTALLATION
- Create a database and import all
lib/SQL-*.sql
in ascending order. - Open
lib/CORE-Config.php
, update the settings to your own.- The host settings.
- Database settings.
- If you want to develop mobile apps, consider enabling CORS.
- Set your own JWT secret key, and the issuer to your domain or company name.
- Run
$_CORE->Route->init()
to create.htaccess
. - Create your own admin user. See “deleted all admin accounts” above.
- Update
index.php
.require __DIR__ . DIRECTORY_SEPARATOR . "lib" . DIRECTORY_SEPARATOR . "CORE-Go.php";
$_CORE->load("Route");
$_CORE->Route->run();
I WANT TO CHANGE THE DATE FORMAT
Login > under system settings section > there are 4 “MYSQL date/time format” settings, change them accordingly. These are simply formats for the MYSQL DATE_FORMAT()
function.
NOT WORKING. DON’T KNOW WHY.
Open the developer’s console, reload the page and see the error message.
UNABLE TO GENERATE JSON WEB TOKEN KEYS
Make sure that your OpenSSL is properly installed.
- Linux
- It is as simple as
sudo apt-get install openssl
. - Or
yum install openssl
for the CentOS users. - Then,
php -i | grep -i openssl
.
- It is as simple as
- Windows – I am using XAMPP and OpenSSL is already included. But a hiccup got me stumped for a while.
- Start > Search for “system environment” > “Edit the system environment variables” > “Environment variables”.
- Add a new system variable called
OPENSSL_CONF
and point it to theopenssl.cnf
file. By default, it is located atxampp\php\extras\openssl\openssl.cnf
.
QUICK REFERENCE
This section is for the developers, a quick walkthrough of the general system structures.
FOLDER STRUCTURE
assets/
Public images, Javascript, CSS, etc…lib/
Core engine and library files.API-AAA.php
The API endpoints. Will be deployed athttp://site.com/api/AAA/
.CORE-CCC.php
Core engine files. Try not to mess with these.LIB-LLL.php
Library files.SQL-SSS.php
SQL database files. Can actually delete these after installation.
pages/
HTML pages and template.A-AAA.php
Admin pages.T-TTT.php
Teacher pages.S-SSS.php
Student pages.PAGE-PPP.php
General pages.MAIL-MMM.php
Email templates.TEMPLATE-TTT.php
HTML page template.
THE FRAMEWORKS
I Was Here is built:
- Bootstrap and Google Material Icons.
- PHP JSON Web Token
- QR Code Scanner
- QR Code Generator
- Core Boxx modular PHP framework
- Modified Core Boxx Users Module
DATABASE TABLES
USERS & PASSWORD
Field | Description |
user_id |
Primary key, auto-increment. |
user_name |
Full name. |
user_email |
Email, unique. |
user_role |
Admin, Teacher, Student, Inactive. |
user_password |
Password, encrypted. |
Field | Description |
user_id |
Primary and foreign key. |
reset_hash |
Automated password reset security hash. |
reset_time |
The time when the reset request is made. |
SYSTEM
Field | Description |
setting_name |
Primary key. |
setting_description |
Description of the setting. |
setting_value |
The value of the setting. |
setting_group |
Setting group.
|
COURSES
Field | Description |
course_id |
Primary key, auto-increment. |
course_code |
Course code, unique. |
course_name |
Name of the course. |
course_desc |
A short description of the course. |
course_start |
Course start date. |
course_end |
Course end date. |
Field | Description |
course_id |
Primary and foreign key. |
user_id |
Primary and foreign key. |
CLASSES & ATTENDANCE
Field | Description |
class_id |
Primary key, auto-increment. |
user_id |
Teacher-in-charge. Foreign key. |
couse_id |
Course ID. Foreign key. |
class_date |
Date and time of the class. |
class_desc |
Short description of the class. |
Field | Description |
class_id |
Primary and foreign key. |
user_id |
Primary and foreign key. |
sign_date |
Timestamp, when the attendance is taken. |
DEVELOPING “I WAS HERE”
As simple as it may be, going through the entire system is still going to take some time. So instead of “explaining line-by-line”, here is a condensed version of “how to quickly customize and upgrade”.
CORE BOXX LIBRARY REFERENCE
For most of the core modules, you can refer to the Core Boxx reference library.
STEP 1) CREATE/MODIFY DATABASE TABLES
Add new tables or views. Modify the existing ones as required.
STEP 2) ADD/UPDATE SYSTEM MODULE
class Report extends Core {
function getStudentAttend ($id) {
return $this->DB->fetchAll(
"SELECT * FROM `attendence` WHERE `user_id`=? ORDER BY `sign_date` DESC",
[$id]
);
}
}
To add a new module:
- Create
lib/LIB-Module.php
. - Define
class Module extends Core
. - Add functions inside.
In this example, we added a new report module – lib/LIB-Report.php
and class Report extends Core
. That’s all. This new module can now be loaded via $_CORE->load("Report")
and the function can be accessed via $_CORE->Report->getStudentAttend()
.
STEP 3) ADD/UPDATE API ENDPOINT (OPTIONAL)
// (A) ADMIN ONLY
if (!isset($_SESS["user"]) || $_SESS["user"]["user_role"]!="A") {
$_CORE->respond(0, "No permission or session expired", null, null, 403);
}
switch ($_REQ) {
// (B) INVALID REQUEST
default:
$_CORE->respond(0, "Invalid request", null, null, 400);
break;
// (B) GET STUDENT ATTENDANCE
case "getStudentAttend":
$_CORE->autoGETAPI("Reports", "getStudentAttend");
break;
}}
To add an API endpoint:
- Core Boxx has an API structure of
http://site.com/api/MODULE/REQUEST
. lib/API-report.php
will create an API endpoint athttp://site.com/api/report
.$_REQ
is the requested serviceREQUEST
segment of the URL.
So for this example, we can send $_POST["id"] = 123
to http://site.com/report/getStudentAttend/
to get the attendance report for student 123
. The API will reply with a JSON-encoded string.
STEP 4) ADD/UPDATE HTML CSS JAVASCRIPT
- Add your new pages in
pages/
.- For admin pages, add
pages/A-name.php
. - For teacher pages, add
pages/T-name.php
. - For student pages, add
pages/S-name.php
. - For example,
pages/A-report.php
can only be accessed by administrators fromhttp://site.com/a/report
.
- For admin pages, add
That’s about it. Just reverse engineer and copy from the existing libraries, API, and pages… You will see the development pattern here.
1. How do I leave the camera facing backwards by default when starting reading, and not the camera facing forward.
2. Where do I translate camera names, front and back? I couldn’t get the file
Ask the guy who made the QR scanner – https://github.com/mebjas/html5-qrcode
How to redirect the student area to a specific page after login?
Edit PAGE-home.php? Or change S-home.php entirely?
I need to be precise, when the student logs in, instead of being redirected to /s, redirected to /s/homepage which is a page that creates
Sorry, I cannot provide free consultation for your personal project beyond this. Good luck – https://code-boxx.com/faq/#help “Help on a deeper level”