Welcome to a beginner’s tutorial on how to display a message after submitting an HTML form. Yep, forms are pretty easy to create in HTML… But the aftermath is kind of a mystery. How do we show a message to the user after the processing is done?
There are 2 general ways to show a message after submitting an HTML form:
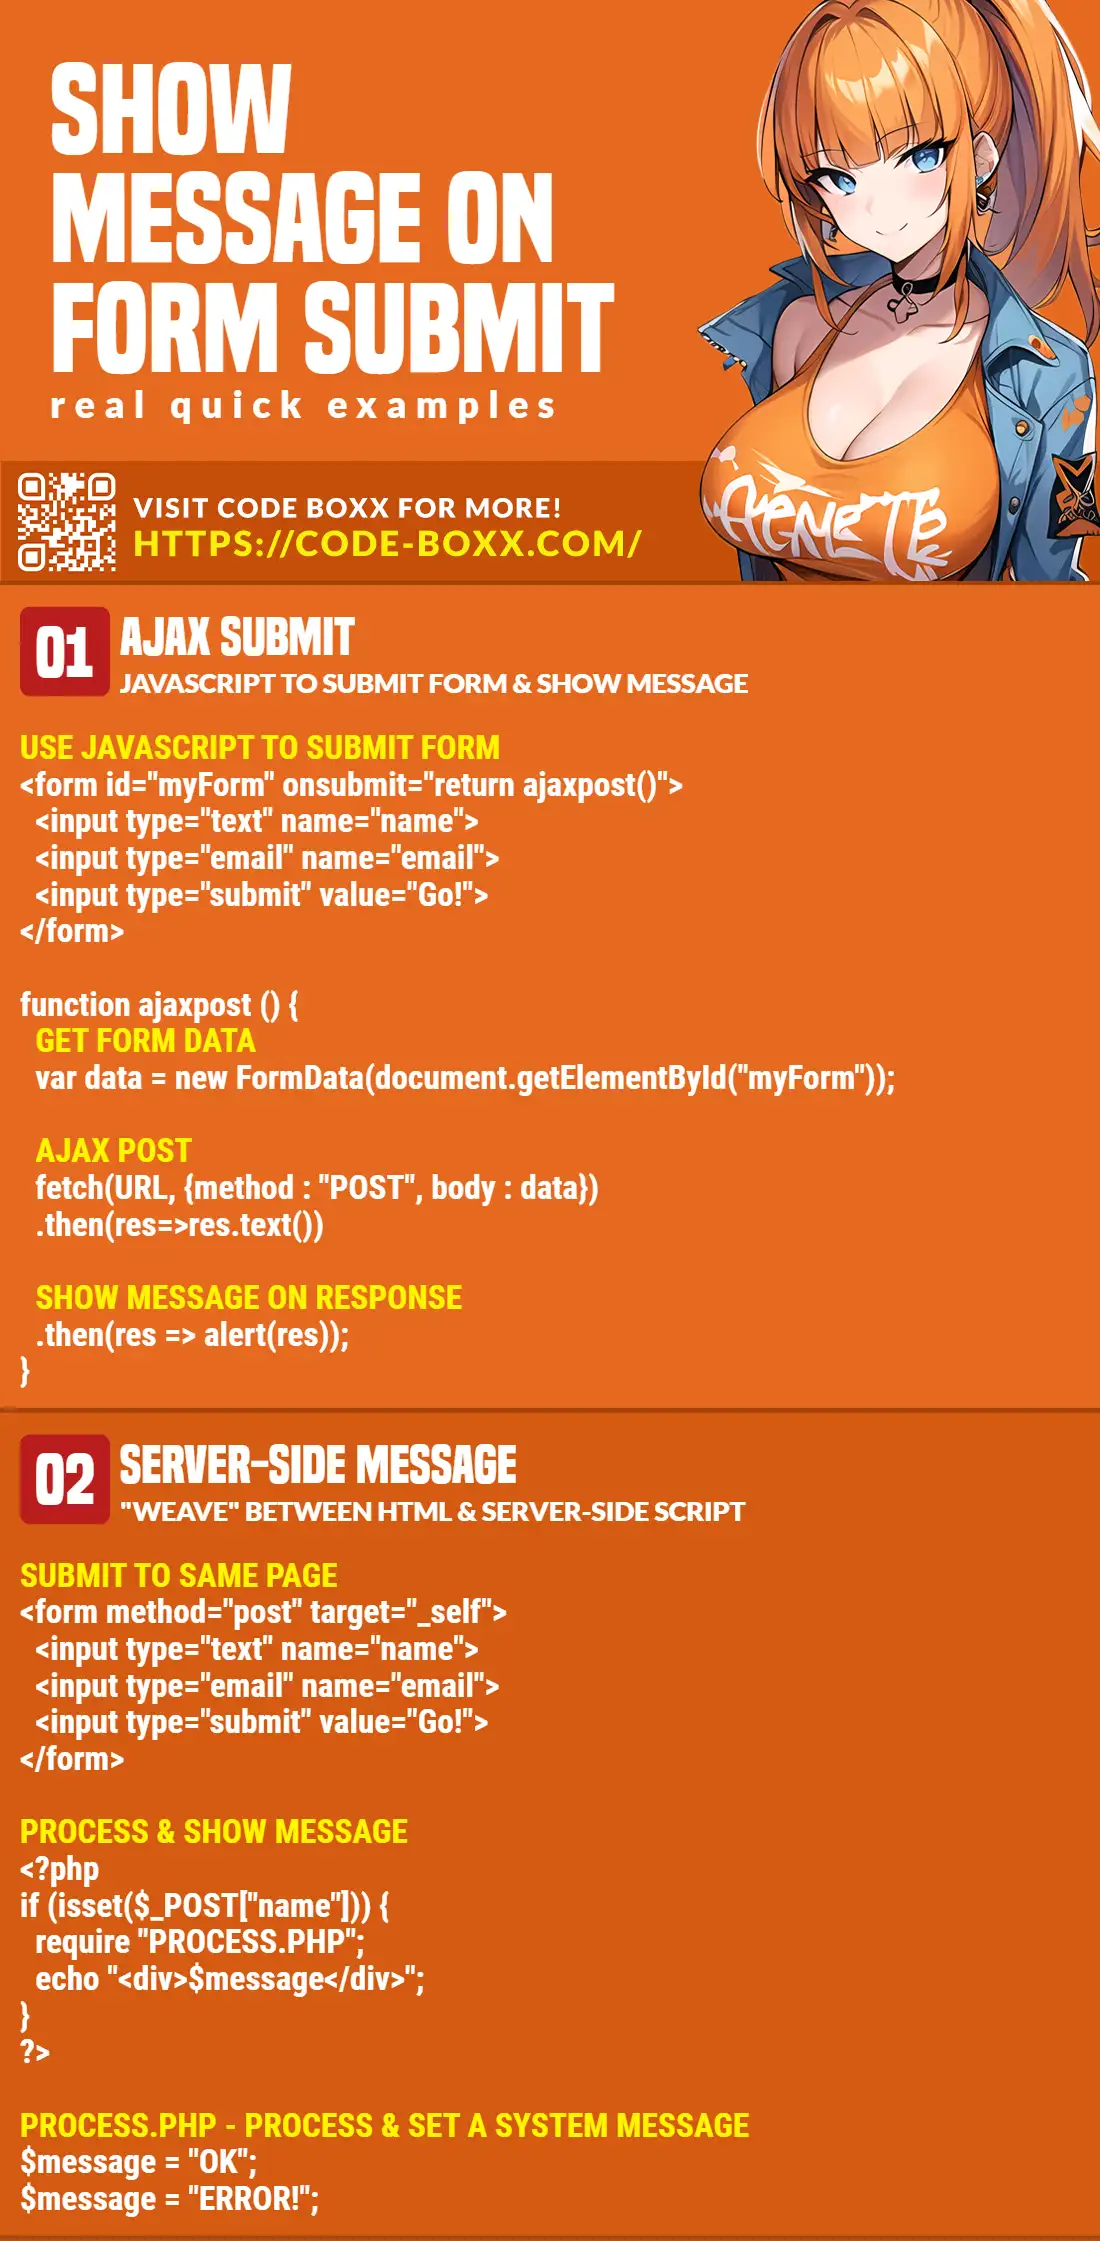
- Use Javascript AJAX to submit the form and show a message when the processing is complete.
- Submit the form as usual, and have the server-side script pass back a flag to show the message.
Just how exactly does each of these work? Let us walk through some examples. Read on to find out!
ⓘ I have included a zip file with all the example source code at the start of this tutorial, so you don’t have to copy-paste everything… Or if you just want to dive straight in.
TABLE OF CONTENTS
DOWNLOAD & NOTES

Firstly, here is the download link to the example code as promised.
QUICK NOTES
If you spot a bug, feel free to comment below. I try to answer short questions too, but it is one person versus the entire world… If you need answers urgently, please check out my list of websites to get help with programming.
EXAMPLE CODE DOWNLOAD
Click here to download the source code, I have released it under the MIT license, so feel free to build on top of it or use it in your own project.
DISPLAY MESSAGE AFTER FORM SUBMIT

All right, let us now get into the examples of how to display a message after submitting an HTML form.
METHOD 1) USING AJAX
1A) HTML FORM
<form id="myForm" onsubmit="return ajaxpost()">
  Name: <input type="text" name="name" value="Jon" required>
  Email: <input type="email" name="email" value="jon@doe.com" required>
  <input type="submit" value="Go!">
</form>
For those who have not heard, Asynchronous Javascript And XML (AJAX) is basically sending forms without reloading the entire page. The HTML is pretty much “just a regular HTML form”. The only part to take note is onsubmit="return ajaxpost()", this will call the ajaxpost() function when the form is submitted.
1B) JAVASCRIPT
function ajaxpost () {
  // (A) GET FORM DATA
  var data = new FormData(document.getElementById("myForm"));

  // (B) AJAX REQUEST
  // (B1) POST DATA TO SERVER, RETURN RESPONSE AS TEXT
  fetch("1c-server.html", { method:"POST", body:data })
  .then(res => res.text())

  // (B2) SHOW MESSAGE ON SERVER RESPONSE
  .then(response => {
    console.log(response);
    if (response == "OK") { alert("SUCCESSFUL!"); }
    else { alert("FAILURE!"); }
  })

  // (B3) OPTIONAL - HANDLE FETCH ERROR
  .catch(err => console.error(err));

  // (C) PREVENT FORM SUBMIT
  return false;
}
This looks like quite a handful, but it is really quite straightforward:
- First, we create a
var data = new FormData(HTML FORM)object to collect all the data to be sent. - Next, the AJAX call itself.
- (B1) Use
fetch("URL", { method:"POST", body:data })to POST the form data to the server. - (B1)
.then(res => res.text())returns the server response as text. - (B2) Then, simply show your notifications in
.then(response => { RESPONSE IS WHATEVER TEXT THE SERVER RETURNS }).
- (B1) Use
- That’s all, don’t forget to
return falseto stop the default HTML form submission (or the page will reload).
1C) SERVER-SIDE SCRIPT
OKWell, this is just a dummy. Do your own processing with the server side, in whatever programming language that you are using. But in the end, it should respond with an “OK” or an error message.
METHOD 2) SERVER-SIDE FLAG
2A) THE HTML FORM
<!-- (A) SUBMIT TO ITSELF -->
<form method="post" target="_self">
  Name: <input type="text" name="name" value="Jon" required>
  Email: <input type="email" name="email" value="jon@doe.com" required>
  <input type="submit" value="Go!">
</form>

<?php
// (B) PROCESS FORM SUBMISSION & SHOW MESSAGE
if (isset($_POST["name"])) {
  require "2b-process.php";
  echo "<div>$message</div>";
}
?>
Following up, let us move into a more “traditional” method that involved weaving the HTML and server-side script together. I am using PHP as an example here, but the process should be pretty similar universally.
- Create the HTML form as usual, and it will submit to itself (I.E. Submit to the same page).
- Do the processing when the form is submitted. The server-side script should generate a
$message = "SYSTEM MESSAGE"upon completion and will display here.
2B) SERVER-SIDE PROCESSING
<?php
// (A) PROCESS THE FORM
// process($_POST["name"], $_POST["email"]);

// (B) THEN SET THE RESPONSE MESSAGE
$message = "SUCCESSFUL!";
// $message = "FAILURE!";
Again, this is just a dummy. At the end of your server-side script, generate your own $message flag and tie it back into the HTML.
EXTRA BITS & LINKS

That’s all for this guide, and here is a small section on some extras and links that may be useful to you.
LINKS & REFERENCES
- Simple AJAX Examples – Code Boxx
- Very Simple Javascript Debugging – Code Boxx
- HTTP Response Codes – MDN
TUTORIAL VIDEO
INFOGRAPHIC CHEAT SHEET
THE END

Thank you for reading, and we have come to the end of this guide. I hope that it has helped you with your project, and if you want to share anything with this guide, please feel free to comment below. Good luck and happy coding!