Welcome to a tutorial on how to create a responsive background video in HTML and CSS. Need to set a video as the background? Yes, it is possible to do so with some “clever layering” – Read on for the examples!
TABLE OF CONTENTS
DOWNLOAD & NOTES
Here is the download link to the example code, so you don’t have to copy-paste everything.
EXAMPLE CODE DOWNLOAD
The example code is released under the MIT license, so feel free to build on top of it or use it in your own project.
SORRY FOR THE ADS...
But someone has to pay the bills, and sponsors are paying for it. I insist on not turning Code Boxx into a "paid scripts" business, and I don't "block people with Adblock". Every little bit of support helps.
Buy Me A Coffee Code Boxx eBooks
BACKGROUND VIDEO EXAMPLES
All right, let us now walk through some examples of how to create a responsive background video.
TUTORIAL VIDEO
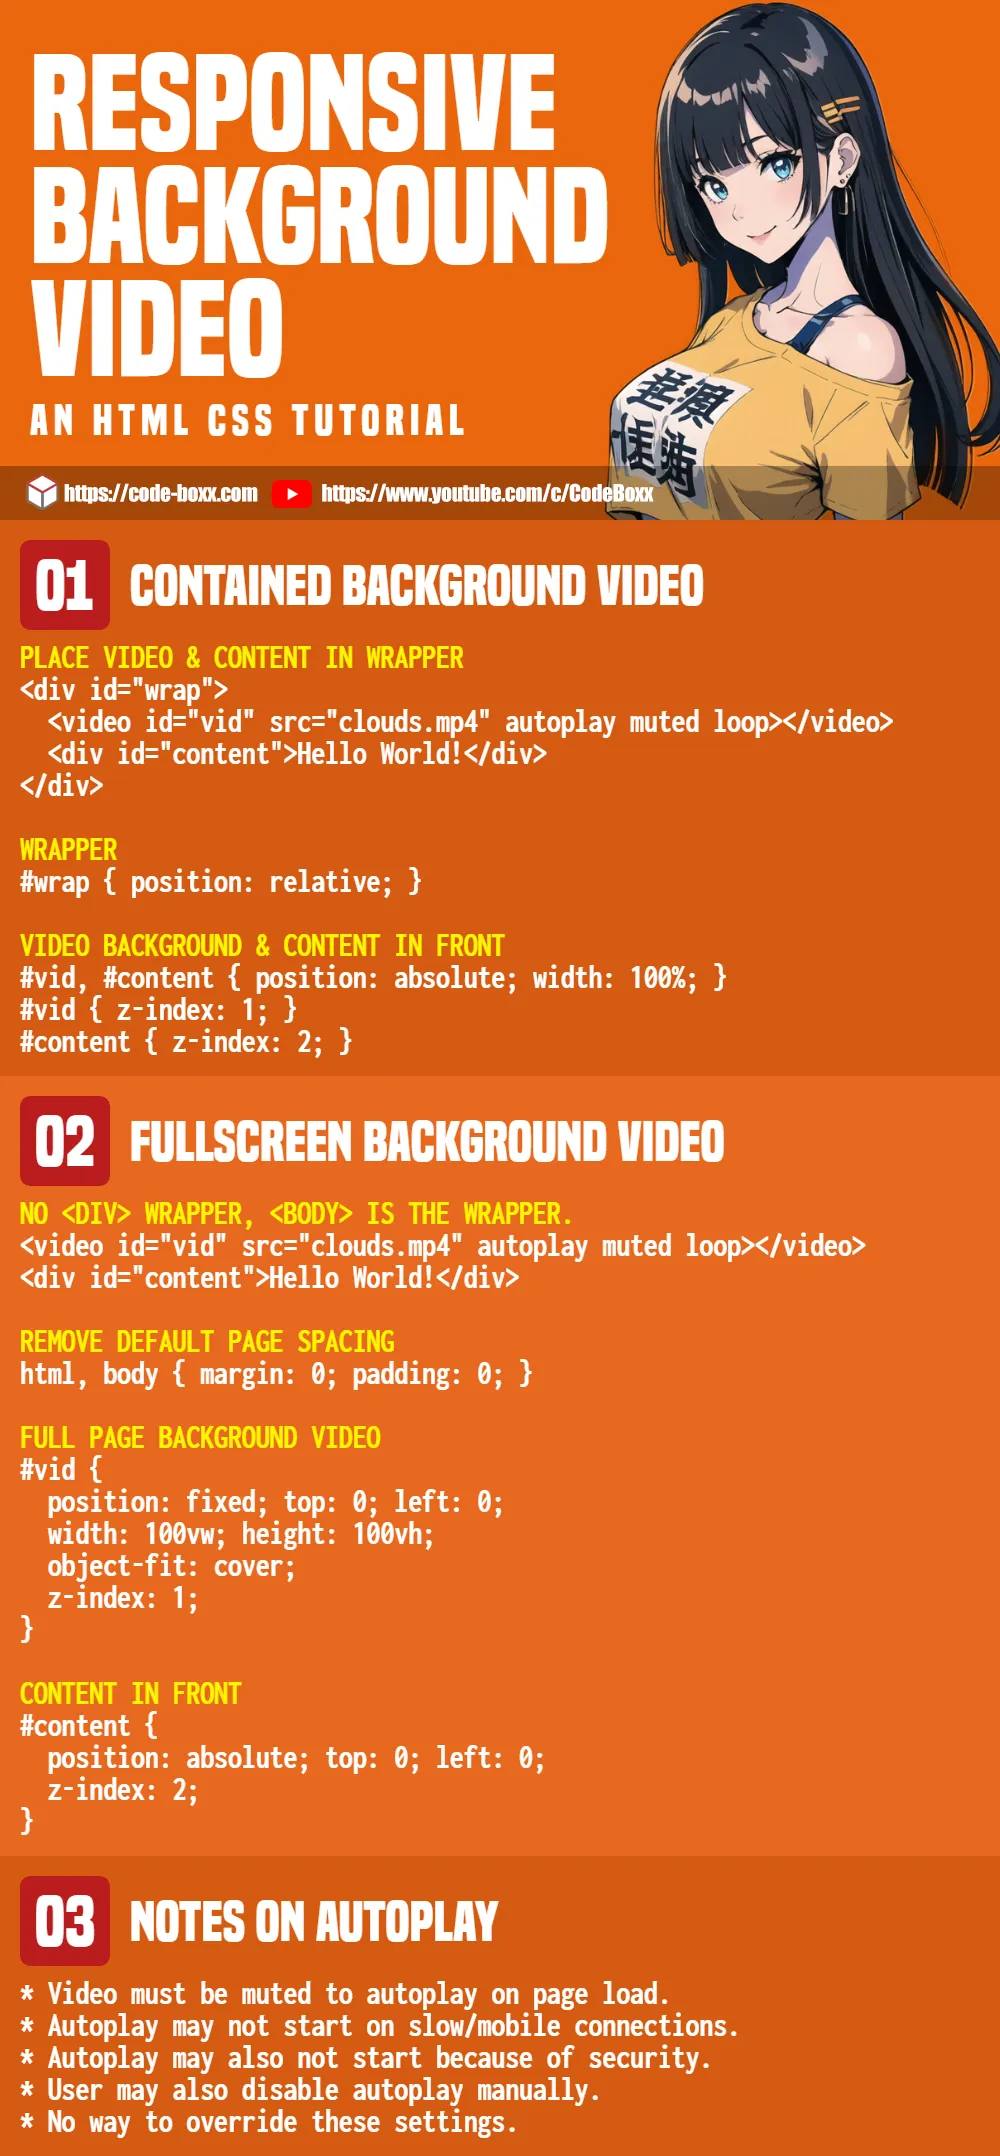
EXAMPLE 1) RESPONSIVE BACKGROUND VIDEO
1A) THE HTML
<!-- (A) WRAPPER -->
<div id="wrap">
  <!-- (B) BACKGROUND VIDEO -->
  <video id="vid" src="gallery/clouds.mp4" autoplay muted loop></video>

  <!-- (C) CONTENTS -->
  <div id="content">Hello World!</div>
</div>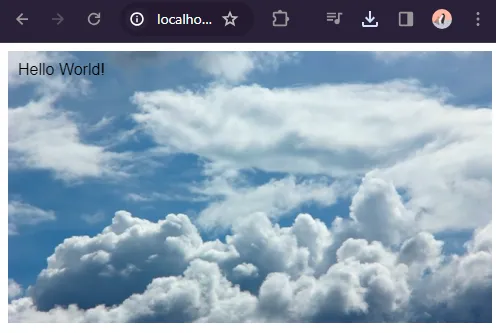
Sadly, there is no such thing as a background-video CSS property. So the only way is to work with “layers”:
<div id="wrap">A wrapper to contain the video and contents.<video id="vid">Background video.<div id="content">Foreground content.
Take note that the video is set to autoplay muted loop, will explain more in the extras section below.
1B) THE CSS
/* (A) WRAPPER */
#wrap { position: relative; }

/* (B) VIDEO BACKGROUND & CONTENT IN FRONT */
#vid, #content { position: absolute; width: 100%; }
#vid { z-index: 1; }
#content { z-index: 2; }
#wrap { position: relative }is necessary to properly layer the video and content enclosed inside.#vid, #content { position: absolute }does the layering.#vid { z-index: 1 }Place the video in the background.#content { z-index: 2 }Content in front.
#vid, #content { width: 100% }is the one that does the responsive magic. That is, the video and content will automatically resize to fit.
EXAMPLE 2) FULLSCREEN BACKGROUND VIDEO
2A) THE HTML
<!-- (A) BACKGROUND VIDEO -->
<video id="vid" src="gallery/clouds.mp4" autoplay muted loop></video>

<!-- (B) CONTENTS -->
<div id="content">Hello World!</div>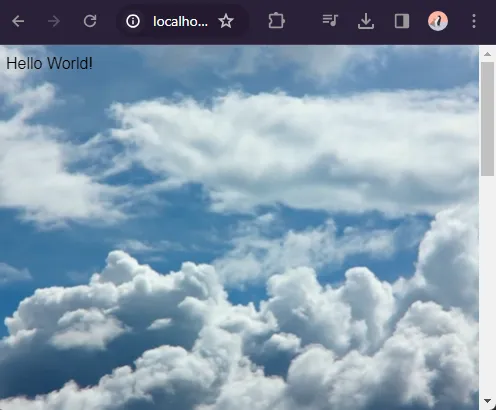
Same old story, except that there is no wrapper <div id="wrap"> this time. Since this is a full-page background video, the <body> itself is the wrapper.
2B) THE CSS
/* (A) REMOVE DEFAULT PAGE SPACING */
html, body { margin: 0; padding: 0; }

/* (B) FULL PAGE VIDEO */
#vid {
  position: fixed; top: 0; left: 0;
  width: 100vw; height: 100vh;
  object-fit: cover;
  z-index: 1; /* background */
}

/* (C) CONTENT */
#content {
  position: absolute; top: 0; left: 0;
  z-index: 2; /* in front */
}
This is the same “layer video behind and content in front”, just done slightly differently.
- Remove the annoying “default white space” around the page.
#vidis now set to cover the whole page.position: fixed; top: 0; left: 0;The video stays in the background, no matter how the user scrolls.width: 100vw; height: 100vh;Fill the whole page.object-fit: coverexpands the video to fit the entire window. Without this, the video will maintain its aspect ratio and be placed in the middle of the screen.
- Pretty much the same, place the content on top of the video.
3) YOUTUBE BACKGROUND VIDEO?
3A) GET THE EMBED CODE
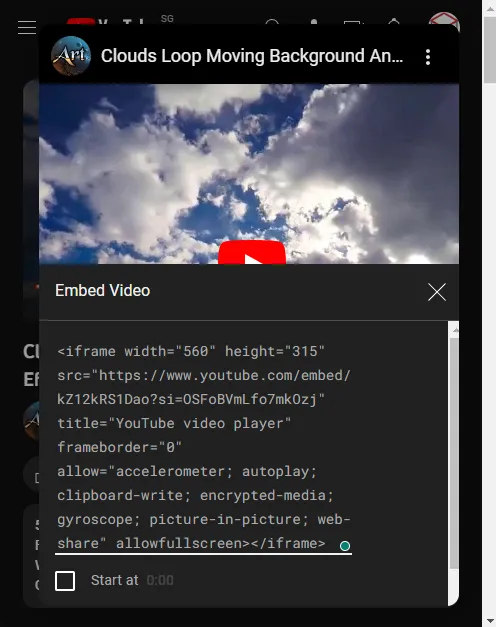
Some smart people may think “why don’t we use a YouTube video as the background”? Well, it’s not impossible, but there are restrictions. To get started, search for the video you want. Click on “share” > “embed” > copy the <iframe> code fragment.
3B) THE HTML
<div id="wrap">
  <!-- (B) BACKGROUND VIDEO -->
  <iframe id="vid" width="560" height="315"
          src="https://www.youtube.com/embed/kZ12kRS1Dao?autoplay=1&loop=1&controls=0" frameborder="0"></iframe>

  <!-- (C) CONTENTS -->
  <div id="content">Hello World!</div>
</div>
This is the same old strategy again, but the background video is now replaced with the YouTube embed.
3C) THE CSS
/* (A) WRAPPER */
#wrap {
  position: relative;
  padding-bottom: 56.25%;
  padding-top: 30px;
  height: 0;
  overflow: hidden;
}

/* (B) LAYERING */
#vid, #content { position: absolute; }

/* (B1) YOUTUBE VIDEO */
#vid {
  z-index: 1; top: 0; left: 0;
  width: 100%; height: 100%;
}

/* (B2) CONTENT */
#content {
  z-index: 2; bottom: 0; left: 0;
}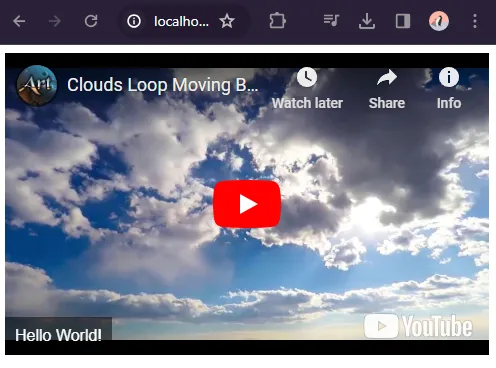
Yes, we can overlay content over an embedded YouTube video. But the restriction is that – We cannot fully disable the controls and info. I am pretty sure this is due to copyright issues, and YouTube must credit the content creators.
So… using YouTube video as the background? I don’t think it is the best idea. However, I am also not too sure if the YouTube API has a “no branding, no info, no controls” mode for private videos.
EXTRAS
That’s all for the tutorial, and here is a small section on some extras and links that may be useful to you.
AUTOPLAY MAY NOT ALWAYS WORK
A small heads up, autoplay may not always work… The video autoplay policy is a mess, and it has changed multiple times over the years.
- Videos can autoplay on page load, but it MUST be muted.
- But on mobile devices that are not connected to WIFI, some browsers will not start autoplay.
- Some browsers also keep a “score” on how often the user stops/plays a background video. The “AI” will then determine if the video can autoplay.
The worst part is, there’s nothing we can do. It’s the browser’s default behavior or user’s setting. I am pretty sure there are “hacks” to “force start” a video, but that will probably not work on modern browsers with enhanced security.
INFOGRAPHIC CHEATSHEET
REFERENCES & LINKS
- HTML Video – MDN
- List of sites with free video stock footage – veed.me
- HTML Video Background Positioning – slicejack.com
THE END
Thank you for reading, and we have come to the end. I hope that it has helped you to better understand, and if you want to share anything with this guide, please feel free to comment below. Good luck and happy coding!