Welcome to a tutorial on how to add a loading spinner on an HTML dropdown box. So you want to show a loading spinner on a dropdown box while the options are loading? Well, it is pretty straightforward with some Javascript and CSS – Read on for the example!
TABLE OF CONTENTS
DOWNLOAD & DEMO
Here is the download link to the example code, so you don’t have to copy-paste everything.
EXAMPLE CODE DOWNLOAD
Click here to download | Example on CodePen
Just click on “download zip” or do a git clone. I have released it under the MIT license, so feel free to build on top of it or use it in your own project.
SORRY FOR THE ADS...
But someone has to pay the bills, and sponsors are paying for it. I insist on not turning Code Boxx into a "paid scripts" business, and I don't "block people with Adblock". Every little bit of support helps.
Buy Me A Coffee Code Boxx eBooks
THE DEMO
DROPDOWN LOADING SPINNER
All right, let us now get into more details on how the dropdown box loading spinner works.
VIDEO TUTORIAL
PART 1) THE HTML
<!-- (A) LOAD CSS + JS -->
<link rel="stylesheet" href="drop-load.css">
<script defer src="drop-load.js"></script>

<!-- (B) DROPDOWN -->
<select id="demo">
  <option>First</option>
  <option>Second</option>
</select>

<!-- (C) DEMO -->
<button onclick="dropload('demo')">Toggle Spinner</button>
For those who just want to use this as a “plugin”:
- Load the CSS and Javascript.
- Define the
<select>as usual. - Call
dropload("ID")to toggle the loading spinner.
P.S. You can directly pass in the dropdown box too – dropload(document.querySelector("#MYFORM SELECT"))
PART 2) THE JAVASCRIPT
function dropload (t) {
  // (A) GET DROPDOWN BOX + PARENT
  if (typeof t === "string") {
    t = document.getElementById(t);
  }
  let p = t.parentElement;

  // (B) ATTACH SPINNER WRAPPER
  if (!p.classList.contains("dropload")) {
    let w = document.createElement("div");
    w.classList.add("dropload");
    p.insertBefore(w, t);
    w.appendChild(t);
    p = t.parentElement;
  }

  // (C) TOGGLE LOADING SPINNER
  p.classList.toggle("show");
  p.querySelector("select").disabled = p.classList.contains("show");
}
As above, we pass the target dropdown box into this function – dropload(TARGET).
- (A) Get the
TARGETdropdown box and its parent. - (B) Wrap the dropdown box in a container if not already done so –
<div class="dropdown"><select>OPTIONS</select></div>. - (C) Toggle a
showCSS class on the<div>wrapper, enable/disable the dropdown box.
PART 3) THE CSS
/* (A) LOADING SPINNER WRAPPER */
.dropload {
  position: relative;
  display: inline-block; /* or block */
}

/* (B) LOADING SPINNER OVERLAY */
.dropload::before {
  /* (B1) LAYERING & DIMENSIONS */
  position: absolute; top: 0; left: 0;
  display: block; width: 100%; height: 100%;

  /* (B2) LOADING SPINNER */
  content: "";
  background: url("loading.gif") no-repeat center;

  /* (B3) HIDDEN BY DEFAULT */
  opacity: 0; visibility: hidden;

  /* (B4) FADE ANIMATION */
  transition: opacity 0.5s;
}

/* (C) SHOW LOADING SPINNER */
.dropload.show::before {
  opacity: 1; visibility: visible;
}
This may look like a handful for some beginners, but keep calm and look closely.
- (A) Necessary CSS styles to “wrap” the
<div>around the<select>properly. - (B) Use the
::beforepsuedo-class to build the loading spinner. - (B1) Stack the spinner on top of the
<select>. - (B2) Set the loading spinner as the background image.
- (B3) The loading spinner is hidden by default.
- (C & B4) Remember that the Javascript will toggle a
.showCSS class? This simply shows the loading spinner with a fade animation.
EXTRAS
That’s all for the tutorial, and here is a small section on some extras and links that may be useful to you.
SHOW SPINNER WHILE LOADING
<!-- (A) DROPDOWN -->
<select id="demo"></select>

<script>
// (B) GET DROPDOWN BOX
var s = document.getElementById("demo");

// (C) SHOW SPINNER
dropload(s);

// (D) AJAX LOAD OPTIONS FROM SERVER
fetch("YOUR-URL")
.then(res => res.text())
.then(data => {
  s.innerHTML = data; // set options
  dropload(s); // hide spinner
});
</script>
One last quick example – How we can use this with AJAX fetch.
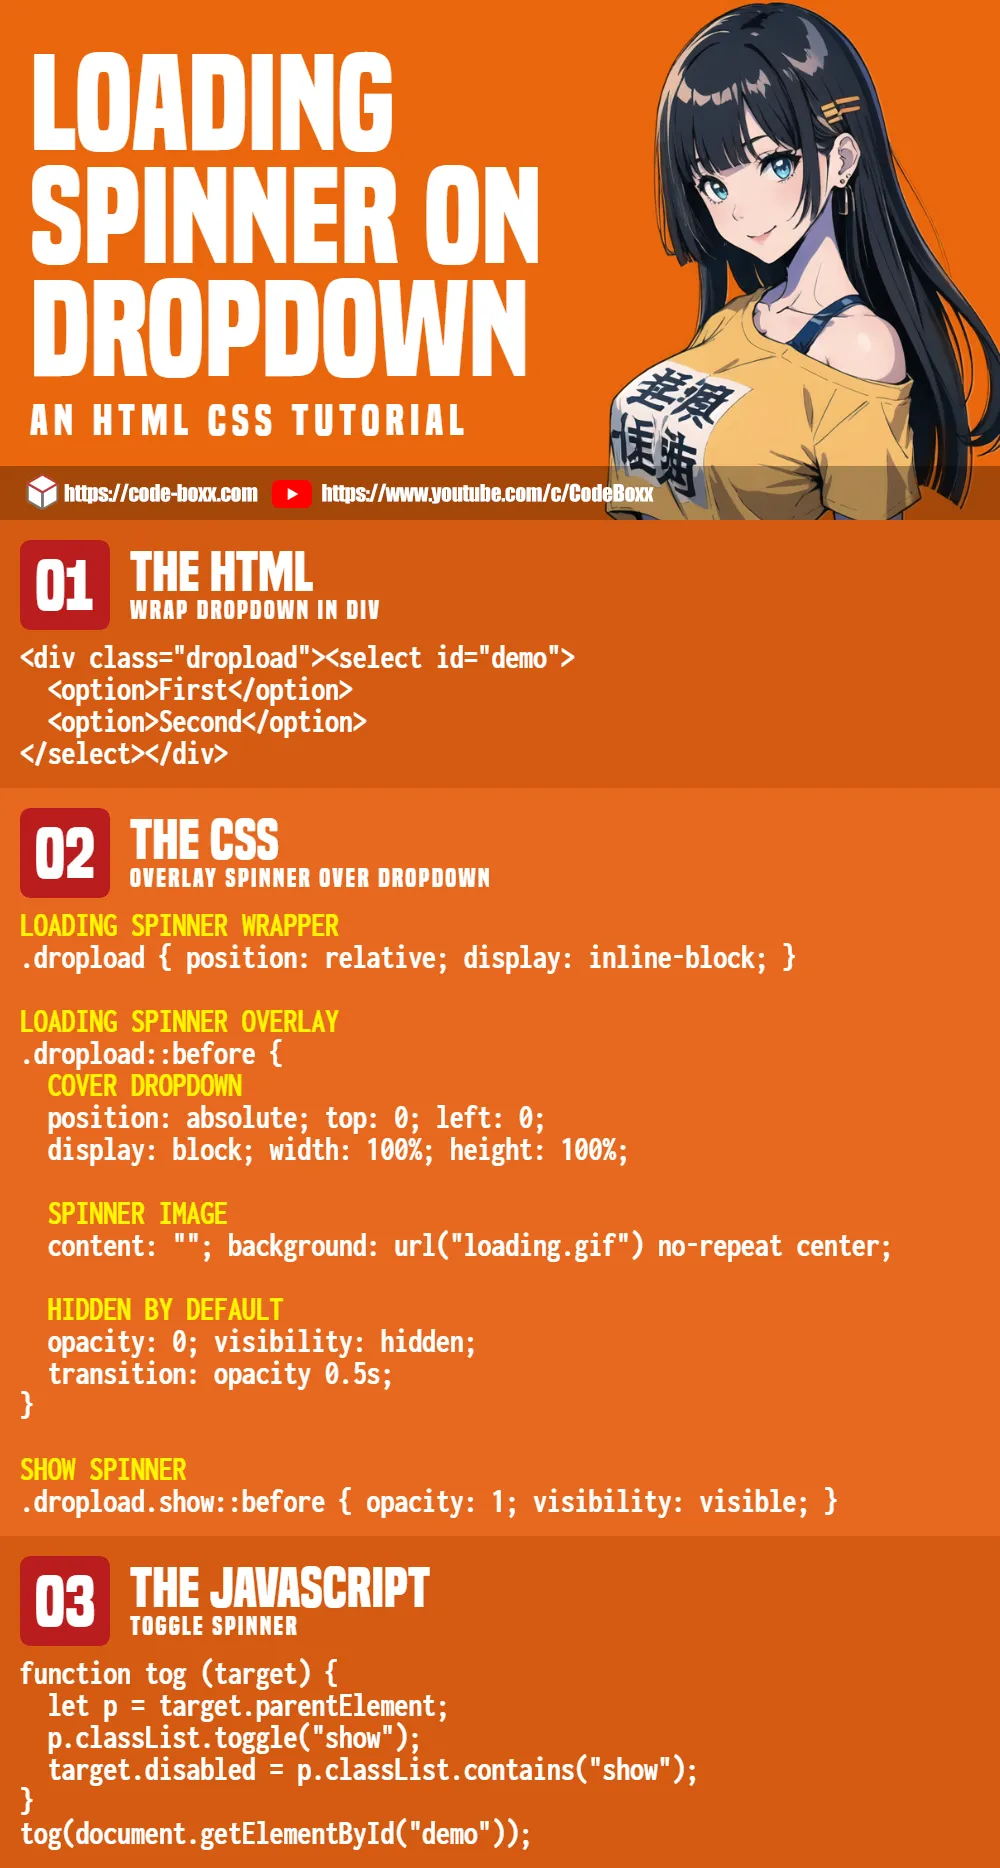
INFOGRAPHIC CHEATSHEET
LINKS & REFERENCES
- Loading Spinner Generators
- Full-Screen Loading Spinner – Code Boxx
- Show Loading Spinner Until Page Loads – Code Boxx
THE END
Thank you for reading, and we have come to the end. I hope that it has helped you to better understand, and if you want to share anything with this guide, please feel free to comment below. Good luck and happy coding!