Welcome to a tutorial on how to do an AJAX call with HTTP basic authentication. So you are looking to protect a certain part of your website, but don’t want to create a complicated user login system? HTTP Basic Authentication is a possible option.
Here is a quick example of an AJAX call with HTTP basic authentication (using Apache):
- Use
htpasswd -c "PATH\.htpasswd" USERto create the user and password. Alternatively, use an online generator. - Secure the folder with a
.htaccessfile.AuthType BasicAuthName "Password Required"AuthUserFile PATH\.htpasswdRequire valid-user
- Lastly, include the user and password in the AJAX request.
var token = "Basic " + window.btoa(NAME+":"+PASSWORD);var xhr = new XMLHttpRequest();xhr.open("GET", "PROTECTED.PAGE");xhr.setRequestHeader("Authorization", token);xhr.send();
That covers the basics, but let us walk through an actual example in this guide – Read on!
TLDR – QUICK SLIDES
[web_stories_embed url=”https://code-boxx.com/web-stories/http-authentication-with-ajax/” title=”HTTP Authentication With AJAX” poster=”https://code-boxx.com/wp-content/uploads/2021/11/STORY-JS-20230518.webp” width=”360″ height=”600″ align=”center”]
Fullscreen Mode – Click Here
TABLE OF CONTENTS
AJAX HTTP AUTHENTICATION

Let us now walk through the steps to secure a page with basic HTTP authentication, also how to set AJAX to include the user/password.
STEP 1) CREATE A PROTECTED FOLDER
First, we create a protected folder and put all the “secret” contents inside:
<p>uvuvwevwevwe onyetenyevwe ugwemubwem ossas</p>
<p>Wow. Very secret. Such protection. Much covert.</p>
STEP 2) CREATE USER & PASSWORD
2A) USING HTPASSWD
Apache Webserver comes with a tool called htpasswd, and we use it to generate the .htpasswd user/password file:
D:\XAMPP\apache\bin>htpasswd -c "D:\http\protected\.htpasswd" USER
New password: ********
Re-type new password: ********
Adding password for user USER
Yes, we can add more users to the existing .htpasswd file easily using the same htaccess tool:
D:\XAMPP\apache\bin>htpasswd "D:\http\protected\.htpasswd" USER2
New password: ****
Re-type new password: ****
Adding password for user USER2
2B) USING ONLINE GENERATORS
If you are using a shared host and cannot access htpasswd, the alternative is to use one of the several online generators:
2C) OTHER WEB SERVERS
If you are not using Apache HTTP server – IIS and NGINX both support basic HTTP authentication as well. Just do a quick search online, and there are tons of guides available.
STEP 3) PROTECT THE FOLDER
Next, we create a .htaccess file to secure this folder.
AuthType Basic
AuthName "Password Required"
AuthUserFile D:\http\protected\.htpasswd
Require valid-user
That’s all. The next time someone visits http://my-site.com/protected/, the browser will prompt for a user and password.
STEP 4) AJAX-HTTP AUTHENTICATION
4A) THE HTML
<!-- (A) "LOGIN FORM" -->
<form onsubmit="return load()">
  <input type="text" id="user-name" placeholder="Name" value="USER" required>
  <input type="password" id="user-pass" placeholder="Password" value="PASS" required>
  <input type="submit" value="Load!">
</form>

<!-- (B) CONTAINER TO LOAD CONTENTS VIA AJAX -->
<div id="load-here"></div>
Nothing much on the HTML page itself. Just a “login form”, and prepare a container <div id="load-here"> to AJAX load the contents into.
4B) JAVASCRIPT – AJAX AUTHENTICATION
<!-- (C) AJAX HTTP AUTHENTICATION -->
<script>
function load () {
// OPTIONAL BACKWARD COMPATIBILITY - POLYFILL FOR BASE64 ENCODE
// if (window.btoa === undefined) { LOAD POLYFILL }
// https://github.com/MaxArt2501/base64-js

  // (C1) AUTHORIZATION USER + PASSWORD
  var name = document.getElementById("user-name").value,
      pass = document.getElementById("user-pass").value
      token = "Basic " + window.btoa(name + ":" + pass);

  // (B) AJAX CALL
  var xhr = new XMLHttpRequest();
  xhr.open("GET", "protected/secret.html");
  xhr.setRequestHeader("Authorization", token);
  xhr.onload = function(){
    if (this.status==200) {
      document.getElementById("load-here").innerHTML = this.response;
    } else {
      alert("HTTP ERROR " + this.status);
    }
  };
  xhr.send();
  return false;
}
</script>
Yep, that’s all to the “magic” – The AJAX call is pretty much the same, except that:
- We set an authorization header
xhr.setRequestHeader("Authorization", token)to it. - Also, check on the status of the given user and password is valid with
if (this.status==200); That is, if the HTTP response code is not 200 (successful) something has gone wrong.
HARD-CODING THE USER & PASSWORD?
Yes, we can “hard code” the user and password directly into Javascript. But that makes no sense, it will be fully in plain sight within the Javascript – Anyone can just grab and use it.
DOWNLOAD & NOTES

Here is the download link to the example code, so you don’t have to copy-paste everything.
SORRY FOR THE ADS...
But someone has to pay the bills, and sponsors are paying for it. I insist on not turning Code Boxx into a "paid scripts" business, and I don't "block people with Adblock". Every little bit of support helps.
Buy Me A Coffee Code Boxx eBooks
EXAMPLE CODE DOWNLOAD
Click here for the source code on GitHub gist, just click on “download zip” or do a git clone. I have released it under the MIT license, so feel free to build on top of it or use it in your own project.
EXTRA BITS & LINKS

That’s all for this tutorial, and here is a small section on some extras and links that may be useful to you.
LINKS & REFERENCES
- Basic Authentication and Authorization – Apache
- htpasswd – Manage user files for basic authentication
- Basic Authentication For IIS – Microsoft
- Basic Authentication For NGINX
- AJAX Beginner’s Tutorial – Code Boxx
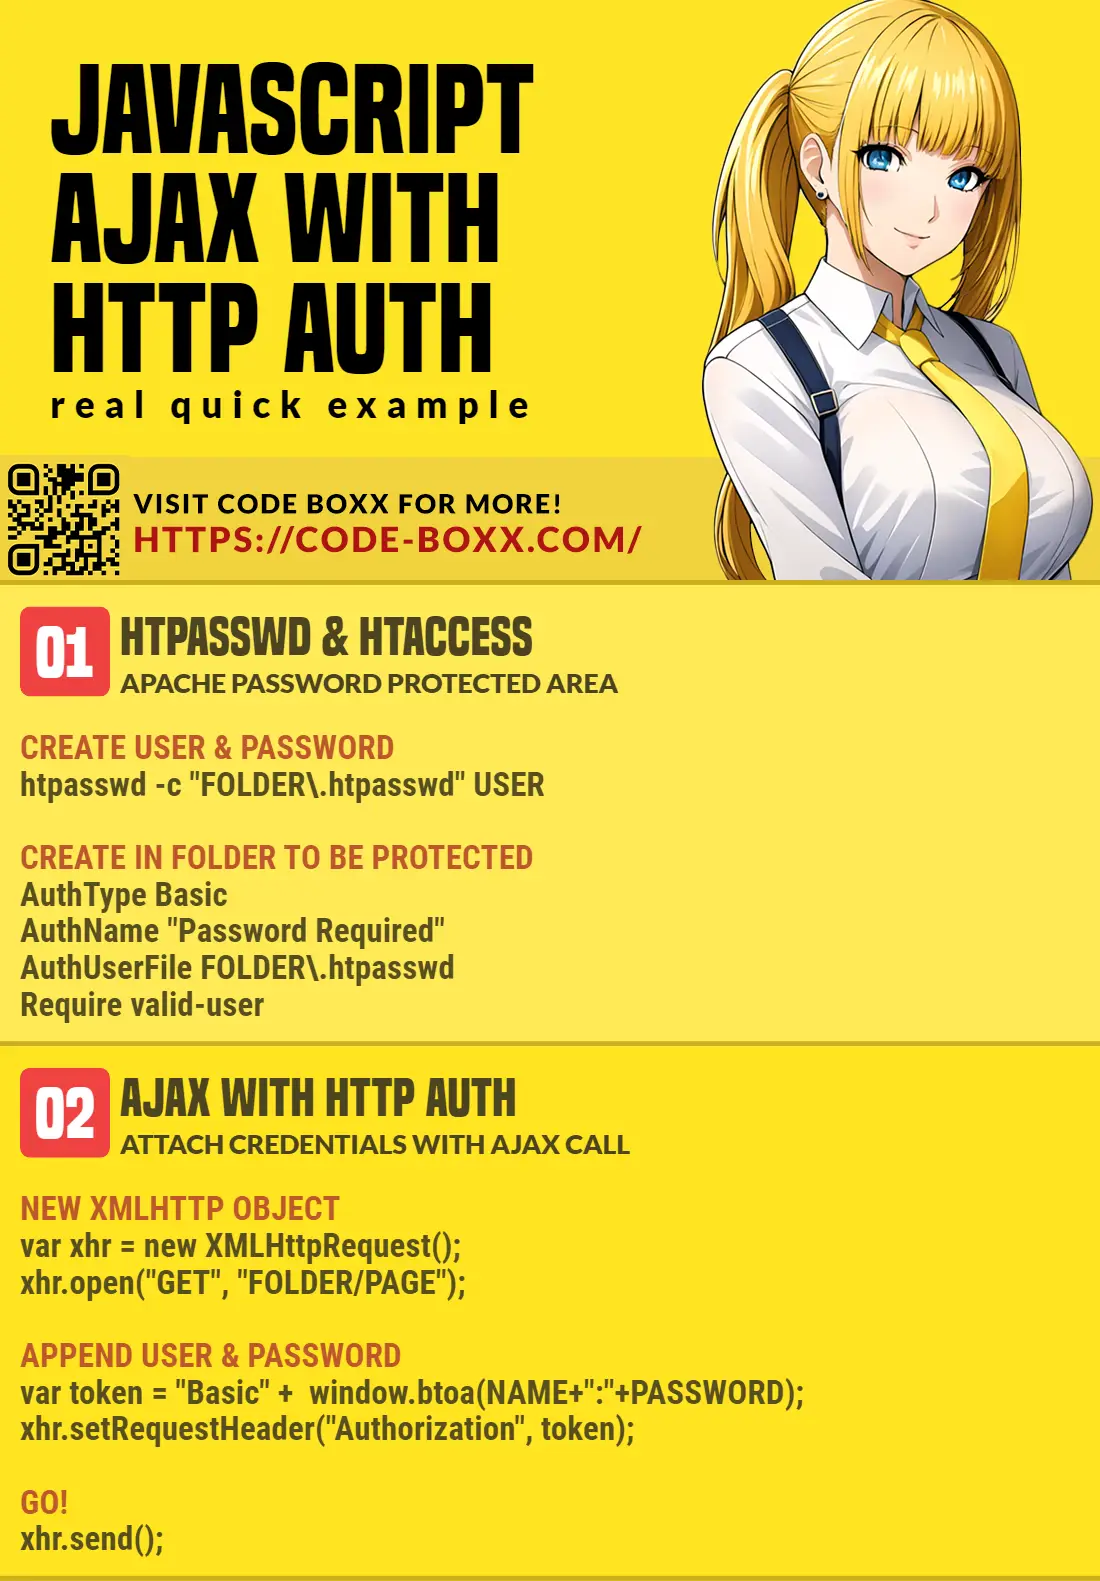
INFOGRAPHIC CHEAT SHEET
THE END

Thank you for reading, and we have come to the end of this guide. I hope that it has helped you with your project, and if you want to share anything with this guide, please feel free to comment below. Good luck and happy coding!