Welcome to a tutorial on how to read a CSV file and display it as an HTML table in PHP. So you want to read a CSV file somewhere on the server, and generate an HTML table with it? Well, it is actually stupidly simple to do, no third-party libraries are required – Read on for the example!
TABLE OF CONTENTS
DOWNLOAD & NOTES
Here is the download link to the example code, so you don’t have to copy-paste everything.
EXAMPLE CODE DOWNLOAD
Just click on “download zip” or do a git clone. I have released it under the MIT license, so feel free to build on top of it or use it in your own project.
SORRY FOR THE ADS...
But someone has to pay the bills, and sponsors are paying for it. I insist on not turning Code Boxx into a "paid scripts" business, and I don't "block people with Adblock". Every little bit of support helps.
Buy Me A Coffee Code Boxx eBooks
CSV TO HTML TABLE
All right, let us now get into the example of generating an HTML table from a CSV file.
TUTORIAL VIDEO
PART 1) DUMMY CSV FILE
Jo Doe,jo@doe.com,465785
Joa Doe,joa@doe.com,123456
Job Doe,job@doe.com,234567
Joe Doe,joe@doe.com,345678
Jog Doe,jog@doe.com,578456
Joh Doe,joh@doe.com,378945
Joi Doe,joi@doe.com,456789
Jon Doe,jon@doe.com,987654
Jor Doe,jor@doe.com,754642
Joy Doe,joy@doe.com,124578
Let us start with the dummy CSV file. For the folks who have no idea of how a CSV (comma-separated values) file works:
- CSV files are just plain text.
- We use line breaks
\r\nto indicate rows. - We use commas
,to indicate columns. - If the cell contains a comma, the value will be enclosed in quotes. E.G.
"Jon, Doe"
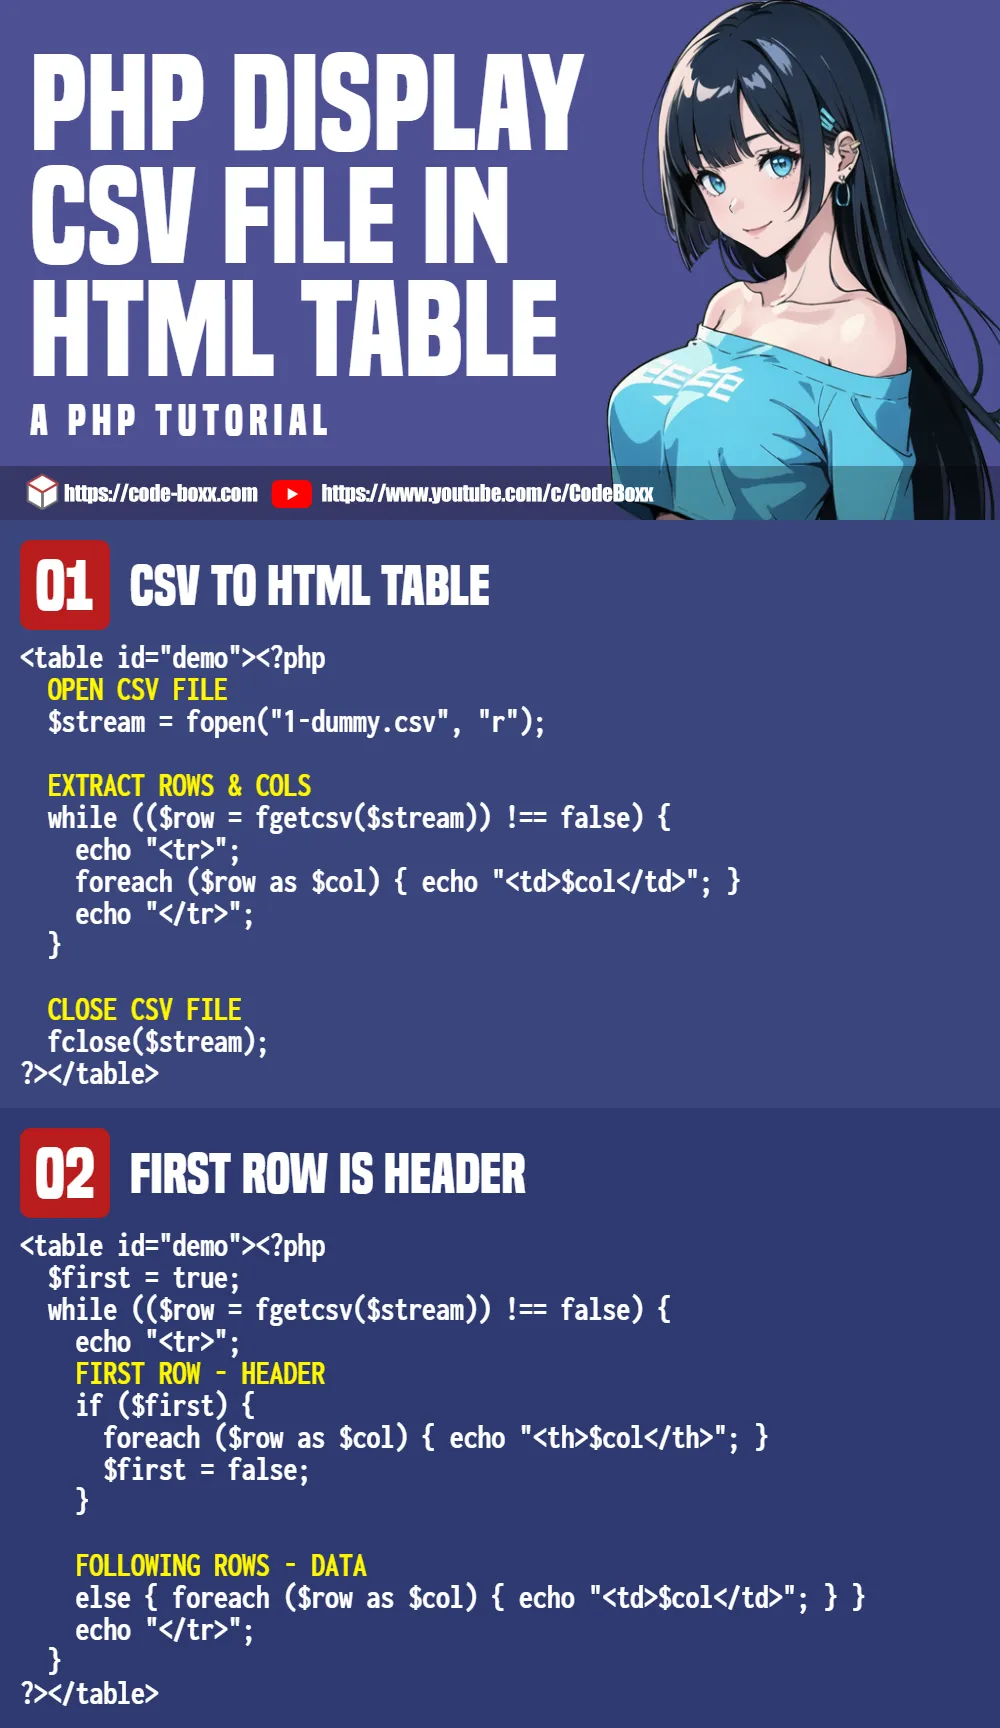
PART 2) CSV TO HTML TABLE
<table id="demo"><?php
  // (A) OPEN CSV FILE
  $stream = fopen("1-dummy.csv", "r");

  // (B) EXTRACT ROWS & COLS
  while (($row = fgetcsv($stream)) !== false) {
    echo "<tr>";
    foreach ($row as $col) { echo "<td>$col</td>"; }
    echo "</tr>";
  }

  // (C) CLOSE CSV FILE
  fclose($stream);
?></table>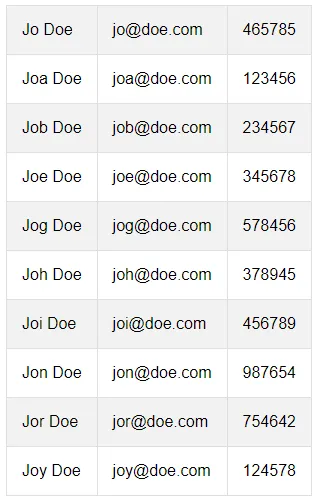
$stream = fopen("1-dummy.csv", "r")opens the CSV file.while (($row = fgetcsv($stream)) !== false)Reads the CSV file row-by-row.echo "<tr></tr>"Self-explanatory.foreach ($row as $col) { echo "<td>$col</td>" }Loop through the columns of the current row and output them in table cells.fclose($stream)Kind of optional, but highly recommended. Nobody wants a corrupted CSV file when it is not properly closed after reading.
Yep, that’s all it takes to “convert CSV to HTML table”. For real.
EXTRAS
That’s all for the tutorial, and here is a small section on some extras and links that may be useful to you.
THE FIRST ROW IS THE HEADER
$first = true;
while (($row = fgetcsv($stream)) !== false) {
  echo "<tr>";
  if ($first) {
    foreach ($row as $col) { echo "<th>$col</th>"; }
    $first = false;
  } else { foreach ($row as $col) { echo "<td>$col</td>"; } }
  echo "</tr>";
}
Just add a simple $first flag to output the first row as <th> header cells.
INFOGRAPHIC CHEAT SHEET
LINKS & REFERENCES
For you guys who are thinking “upload CSV file to the server, then use PHP to display it as a table” – There’s no need to do so. Although kind of limited at the time of writing, modern Javascript can directly read the CSV file and generate the HTML table. Check out “CSV As Table in Javascript” below.
- Display CSV As Table In Javascript – Code Boxx
- Simple Sortable Table With HTML Javascript – Code Boxx
- Ways To Read Files In PHP – Code Boxx
THE END
Thank you for reading, and we have come to the end. I hope that it has helped you to better understand, and if you want to share anything with this guide, please feel free to comment below. Good luck and happy coding!
I have nice update: change explode(“,”, $row); to str_getcsv($row, “,”, ‘”‘); and now you can use enclosure to display cells with comma, also this is compatible with .csv generated in onlyoffice and you can now embed such table on your website without broken layout.
Thanks for sharing, will update this in due time.