Welcome to a quick tutorial on how to create a grid in Javascript. Need to display some data in a nice grid? Gone are the days when we have to use crazy tables and CSS hacks.
To create a grid in Javascript:
- Define a grid container and specify the number of columns in HTML CSS first.
<div id="grid"></div>#grid { display: grid; grid-template-columns: repeat(2, auto); }
- Use Javascript to add cells to the grid container.
var grid = document.getElementById("grid");var cell = document.createElement("div");cell.innerHTML = "TEXT";grid.appendChild(cell);
- Create cell as many cells as required and append them to the grid.
Yep, it’s that simple. Let us walk through a few more examples in this guide – Read on!
TLDR – QUICK SLIDES
[web_stories_embed url=”https://code-boxx.com/web-stories/how-to-create-a-grid-in-javascript/” title=”How To Create A Grid In Javascript” poster=”https://code-boxx.com/wp-content/uploads/2021/11/STORY-JS-20230518.webp” width=”360″ height=”600″ align=”center”]
Fullscreen Mode – Click Here
TABLE OF CONTENTS
CREATE A GRID WITH JAVASCRIPT

All right, let us now get started with creating grids with HTML, CSS, and Javascript.
1) BASIC GRID
1A) THE HTML
<!-- (A) CSS GRID : 3 PER ROW -->
<link rel="stylesheet" href="1b-basic-grid.css">
<style>
#demoA { grid-template-columns: repeat(3, minmax(0, 1fr)); }
</style>
<!-- (B) HTML CONTAINER -->
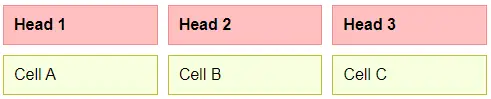
<div id="demoA" class="grid">
<div class="head">Head 1</div>
<div class="head">Head 2</div>
<div class="head">Head 3</div>
<div class="cell">Cell A</div>
<div class="cell">Cell B</div>
<div class="cell">Cell C</div>
</div>
Before we get into “create a grid with Javascript”, let us start with the basics first – Create a grid with HTML CSS. No need to worry, it’s REALLY simple.
- (B) All we need in the HTML is a
<div class="grid">container, add as many<div class="head"> <div class="cell">inside as required. - (A) The “grid magic” happens in the CSS.
1B) THE CSS
/* (A) GRID LAYOUT */
.grid {
  display: grid;
  grid-gap: 10px;
}

/* (B) OPTIONAL - CELLS */
.head, .cell { padding: 10px; }
.head {
  font-weight: 700;
  border: 1px solid #f18e8e;
  background: #ffbfbf;
}
.cell {
  border: 1px solid #c2ba3c;
  background: #f8ffde;
}
display: gridIs all it takes to turn an HTML container into a grid layout.grid-template-columns: repeat(3, minmax(0, 1fr))Specifies “3 columns per row”.- Lastly,
grid-gap: 10pxis optional – The spacing between the cells.
That’s all. The rest is pretty much cosmetics.
P.S. repeat(3, minmax(0, 1fr)) will create 3 equal columns, while repeat(3, auto) allows the browser to resize as required. You can also specify exact widths like 20% 50% 30%.
2) JAVASCRIPT ARRAY TO GRID
2A) THE HTML
<!-- (A) CSS GRID -->
<link rel="stylesheet" href="1b-basic-grid.css">

<!-- (B) HTML CONTAINER -->
<div id="demoB" class="grid"></div>
That’s right. All we need is an empty <div id="demoB" class="grid"> and CSS “grid preset” layout – Take note, this only sets the container to grid layout, not define the number of columns grid-template-columns.
2B) THE JAVASCRIPT
<!-- (C) JS ARRAY TO GRID -->
<script>
// (C1) DATA ARRAY
var data = [
  ["A", "B", "C"],
  ["D", "E", "F"],
  ["G", "H", "I"]
];

// (C2) SET NUMBER OF COLUMNS
var grid = document.getElementById("demoB");
grid.style.cssText = `grid-template-columns:repeat(${data[0].length}, minmax(0, 1fr))`;

// (C3) FIRST ROW - HEADER
for (let i of data[0]) {
  let cell = document.createElement("div");
  cell.innerHTML = i;
  cell.className = "head";
  grid.appendChild(cell);
}

// (C4) FOLLOWING ROWS - CELLS
for (let i=1; i<data.length; i++) {
  for (let j of data[i]) {
    let cell = document.createElement("div");
    cell.innerHTML = j;
    cell.className = "cell";
    grid.appendChild(cell);
  }
}
</script>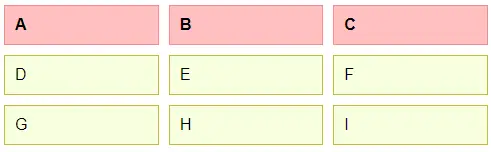
- (C1) There are endless ways to nest an array. For this example, we will just assume it is in this exact order, with the first row being the header.
- (C2) Remember that the number of columns is set yet? Yep, we count the number of columns the array has, and set it here.
- (C3) Loop through the first row of the array, and append header cells.
- (C4) Loop through the following rows of the array, and append “normal cells”.
3) JAVASCRIPT OBJECT TO GRID
3A) THE HTML
<!-- (A) CSS GRID -->
<link rel="stylesheet" href="1b-basic-grid.css">

<!-- (B) HTML CONTAINER -->
<div id="demoC" class="grid"></div>
Once again, an empty HTML <div> that is preset to display:grid.
3B) THE JAVASCRIPT
<!-- (C) JS ARRAY TO GRID -->
<script>
// (C1) DATA OBJECT
var data = {
  "Name" : ["Joe", "Jon", "Joy"],
  "Gender" : ["M", "M", "F"]
};

// (C2) SET NUMBER OF COLUMNS
var grid = document.getElementById("demoC"),
    keys = Object.keys(data);
grid.style.cssText = `grid-template-columns:repeat(${keys.length}, minmax(0, 1fr))`;

// (C3) FIRST ROW - HEADER
for (let i of keys) {
  let cell = document.createElement("div");
  cell.innerHTML = i;
  cell.className = "head";
  grid.appendChild(cell);
}

// (C4) FOLLOWING ROWS - CELLS
for (let i=0; i<data[keys[0]].length; i++) {
  for (let k of keys) {
    let cell = document.createElement("div");
    cell.innerHTML = data[k][i];
    cell.className = "cell";
    grid.appendChild(cell);
  }
}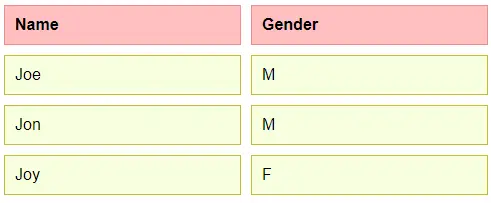
- (C1) Yet again, there are endless ways an object can be structured. Let’s just assume it is in the order of
KEY : [DATA], KEY : [DATA], etc... - (C2) Extract all the keys (headers), calculate and set the number of columns.
- (C3) Loop through the keys. Create the first row, the headers.
- (C4) Loop through all the data entries, and append them to the grid.
DOWNLOAD & NOTES

Firstly, here is the download link to the example code as promised.
SORRY FOR THE ADS...
But someone has to pay the bills, and sponsors are paying for it. I insist on not turning Code Boxx into a "paid scripts" business, and I don't "block people with Adblock". Every little bit of support helps.
Buy Me A Coffee Code Boxx eBooks
EXAMPLE CODE DOWNLOAD
Click here for the source code on GitHub gist, just click on “download zip” or do a git clone. I have released it under the MIT license, so feel free to build on top of it or use it in your own project.
EXTRA BITS & LINKS

That’s all for the tutorial, and here is a small section on some extras and links that may be useful to you.
RESPONSIVE GRID
@media screen AND (max-width: 768px) {
  .grid { grid-template-columns: 100% }
}
If you don’t have a “fixed header” and “it must be N columns” to deal with, you can consider reducing the number of columns on small screens. The above snippet will collapse into a single column on small screens.
LINKS & REFERENCES
- Grids – Learn web development | MDN
- How To Create a Grid In HTML CSS – Code Boxx
- Need a fancy grid for images? Check out Macy.
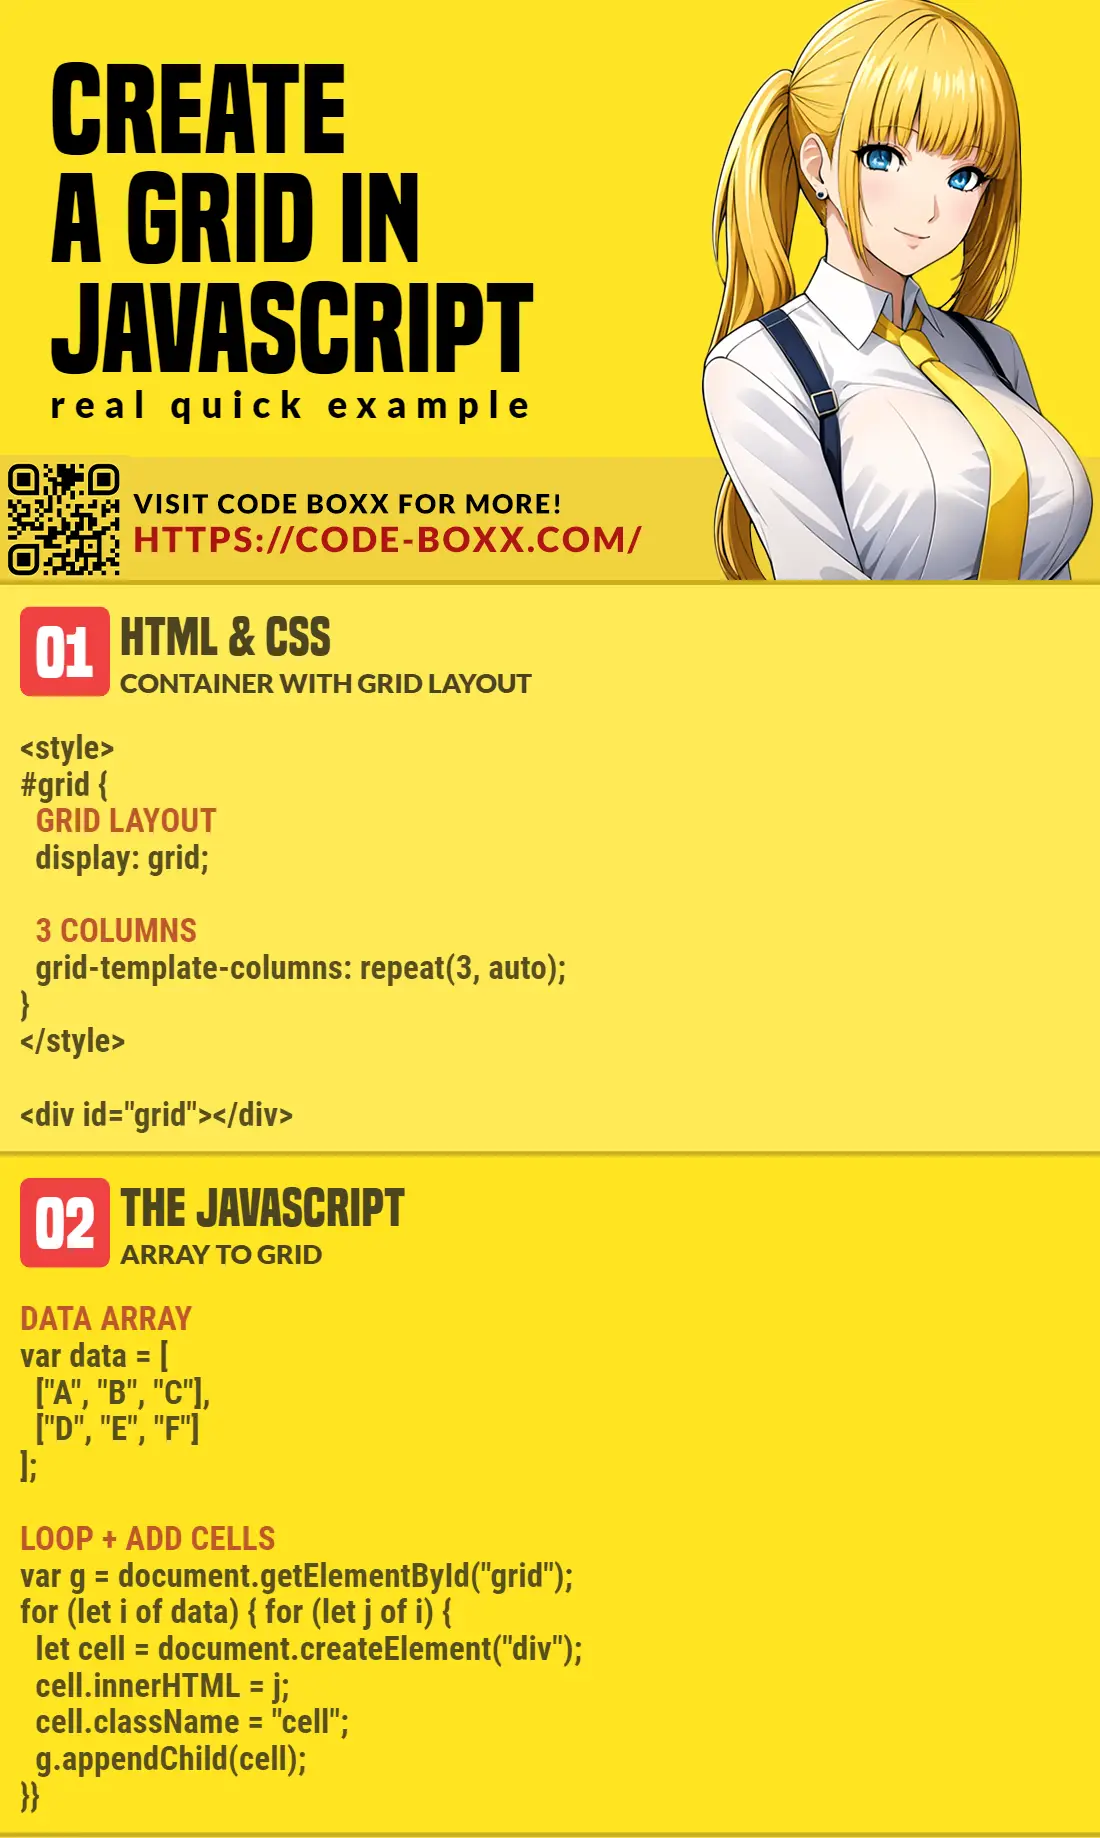
INFOGRAPHIC CHEAT SHEET
THE END

Thank you for reading, and we have come to the end. I hope that it has helped you to better understand, and if you want to share anything with this guide, please feel free to comment below. Good luck and happy coding!