Welcome to a quick tutorial on how to add HTML table rows and cells in Javascript. Need to dynamically update an HTML table using Javascript?
To add new rows and cells to an HTML table in Javascript:
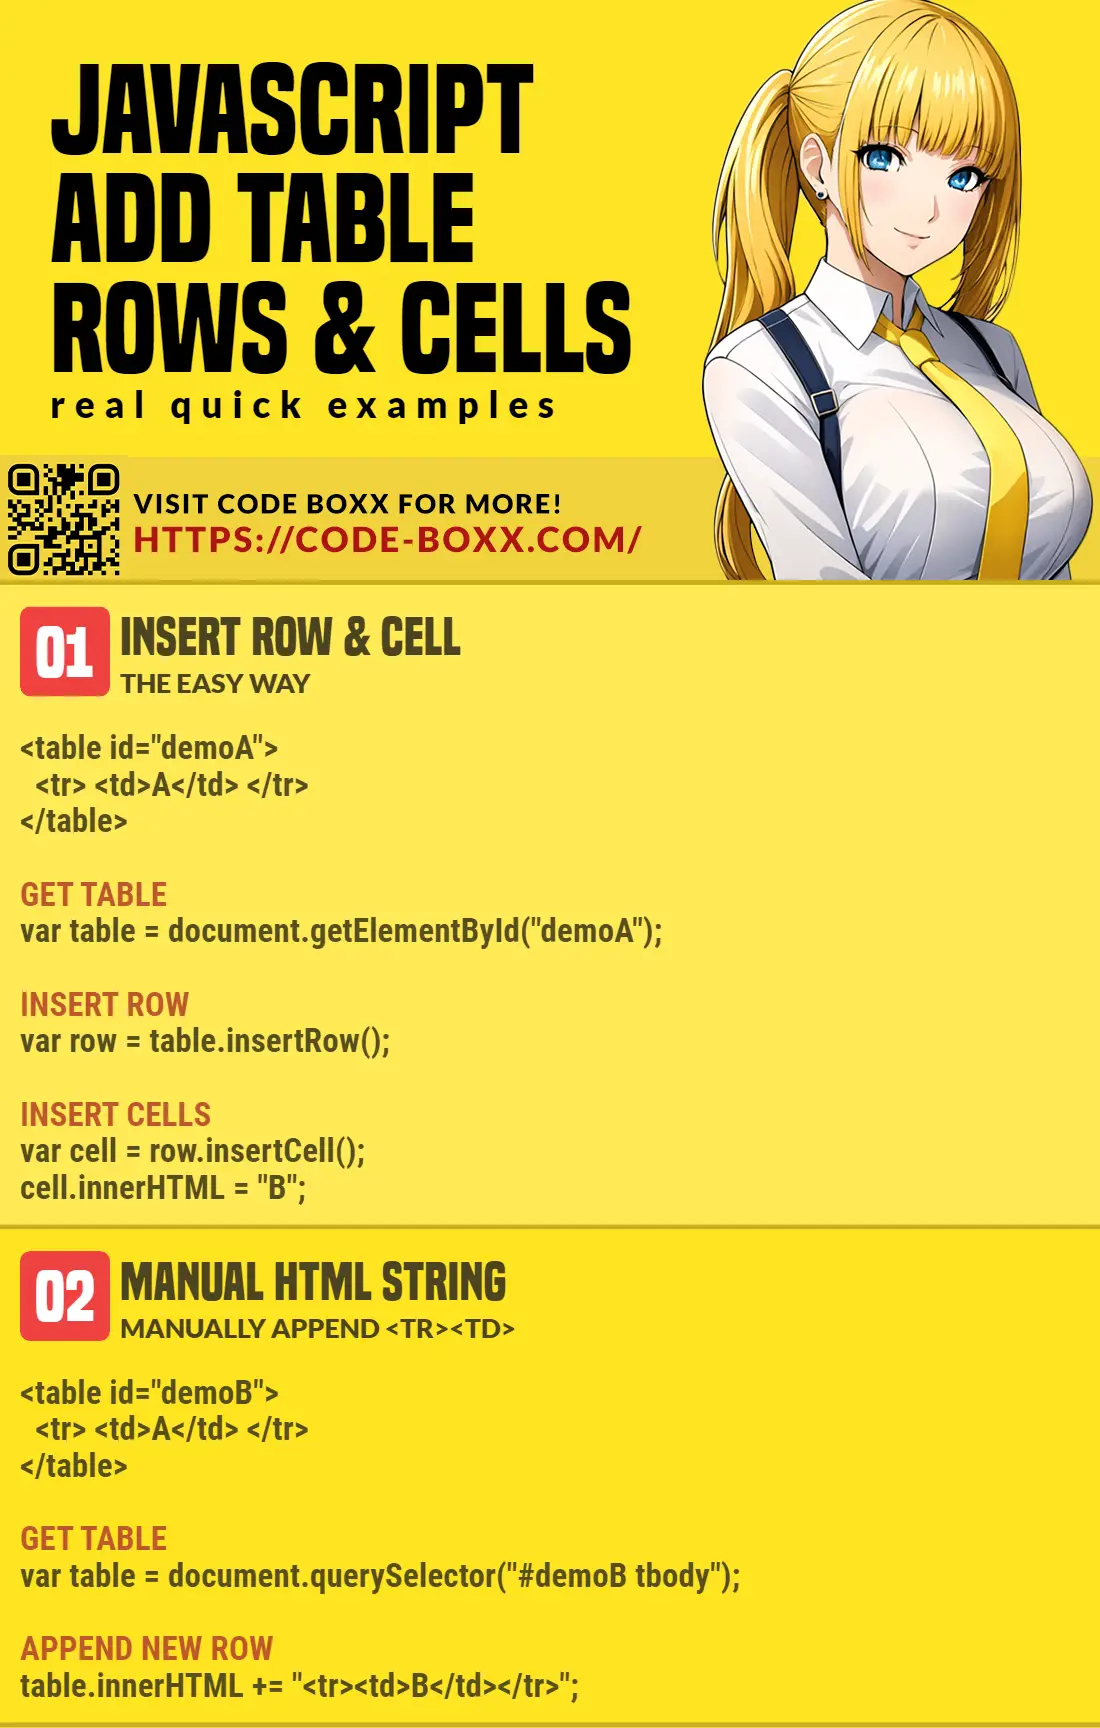
- Get the table –
var table = document.getElementById("TABLE"); - Add a new row –
var row = table.insertRow(); - Append the cells –
var cell = row.insertCell(); - Set cell content –
cell.innerHTML = "TEXT";
That should cover the basics, but read on for more examples!
TLDR – QUICK SLIDES
[web_stories_embed url=”https://code-boxx.com/web-stories/add-table-rows-cells-in-javascript/” title=”Add Table Rows & Cells In Javascript” poster=”https://code-boxx.com/wp-content/uploads/2021/11/STORY-JS-20230518.webp” width=”360″ height=”600″ align=”center”]
Fullscreen Mode – Click Here
TABLE OF CONTENTS
ADD ROWS & CELLS

All right, let us now get into the examples of adding rows and cells to HTML tables.
1) INSERT ROWS & CELLS
<!-- (A) HTML TABLE -->
<table id="demoA">
  <tr> <td>A</td> <td>B</td> </tr>
</table>

<!-- (B) ADD ROWS CELLS -->
<script>
function addRow (top) {
  // (B1) GET TABLE
  var table = document.getElementById("demoA");

  // (B2) INSERT ROW
  if (top) { var row = table.insertRow(0); }
  else { var row = table.insertRow(); }

  // (B3) INSERT CELLS
  var cell = row.insertCell();
  cell.innerHTML = "AA";
  cell = row.insertCell();
  cell.innerHTML = "BB";
}
</script>
<input type="button" value="Add Bottom" onclick="addRow()">
<input type="button" value="Add Top" onclick="addRow(1)">| A | B |
Look no further, these are the same steps as the introduction snippet – Get the table, add a row, append the cells. But take extra note:
- By default,
insertRow()will insert to the bottom of the table. - Use
insertRow(0)to add to the top of the table instead.
Yes, insertRow() takes in an “insert position” parameter. We can do some simple calculations if you want to insert a row into the middle of the table:
var pos = Math.ceil(table.rows.length / 2);var row = table.insertRow(pos);
2) MANUAL HTML STRING
<!-- (A) HTML TABLE -->
<table id="demoB">
<tr> <td>A</td> <td>B</td> </tr>
</table>

<!-- (B) ADD ROWS CELLS -->
<script>
function addRow () {
  var table = document.querySelector("#demoB tbody");
  table.innerHTML = "<tr><td>TOP</td><td>AA</td></tr>" + table.innerHTML;
  table.innerHTML += "<tr><td>BOTTOM</td><td>BB</td></tr>";
}
</script>
<input type="button" value="Add Rows" onclick="addRow()">| A | B |
For you guys who prefer to do it the “manual HTML way”, this is the alternative. But a small word of advice – Directly changing the innerHTML is probably not that good for performance, especially when we have a massive table.
DOWNLOAD & NOTES

Here is the download link to the example code, so you don’t have to copy-paste everything.
SORRY FOR THE ADS...
But someone has to pay the bills, and sponsors are paying for it. I insist on not turning Code Boxx into a "paid scripts" business, and I don't "block people with Adblock". Every little bit of support helps.
Buy Me A Coffee Code Boxx eBooks
EXAMPLE CODE DOWNLOAD
Click here for the source code on GitHub gist, just click on “download zip” or do a git clone. I have released it under the MIT license, so feel free to build on top of it or use it in your own project.
EXTRA BITS & LINKS

That’s all for the main tutorial, and here is a small section on some extras and links that may be useful to you.
WHICH IS BETTER?
Personally, I am leaning towards the “object-oriented” create new rows and cells way. That is just a lot more convenient and easier, without having a write manual HTML code. But both methods are correct – Use whichever works best for you.
LINKS & REFERENCES
- Insert Row – MDN
- Insert Cell – MDN
- How To Delete Table Rows & Cells – Code Boxx
INFOGRAPHIC CHEAT SHEET
THE END

Thank you for reading, and we have come to the end. I hope that it has helped you to better understand, and if you want to share anything with this guide, please feel free to comment below. Good luck and happy coding!