Welcome to a quick tutorial and examples on how to export an array to a CSV file in Javascript. Need to create a CSV file in your web app? Well, we don’t actually need to send the array to the server. Modern Javascript is fully capable of generating files on the client side – Read on for the examples!
TABLE OF CONTENTS
JAVASCRIPT ARRAY TO CSV FILE

All right, let us now get into the examples of how to “export” an array to a CSV file in Javascript.
HOW CSV FILES WORK
Job,job@doe.com,123456,
Joe,joe@doe.com,234567,
"Joi, Doe",joi@doe.com,345678,
Before we start, here is a quick piece of information for those who are new – CSV files are nothing but simple text files.
,Columns are separated with commas.\r\nRows are separated with newlines."CELL, WITH COMMA"If a cell contains commas, the value will be enclosed in double-quotes.
METHOD 1) BLOB OBJECT DOWNLOAD
1A) THE HTML
<!-- (A) JS -->
<script src="csv.min.js"></script>
<script src="1-blob-download.js"></script>

<!-- (B) DOWNLOAD AS CSV -->
<input type="button" value="Demo" onclick="saveCSV()">- To simplify “convert array to CSV”, we will be using a lightweight library called csv.js.
- Just a button to start the demo.
1B) THE JAVASCRIPT
function saveCSV () {
// (A) ARRAY OF DATA
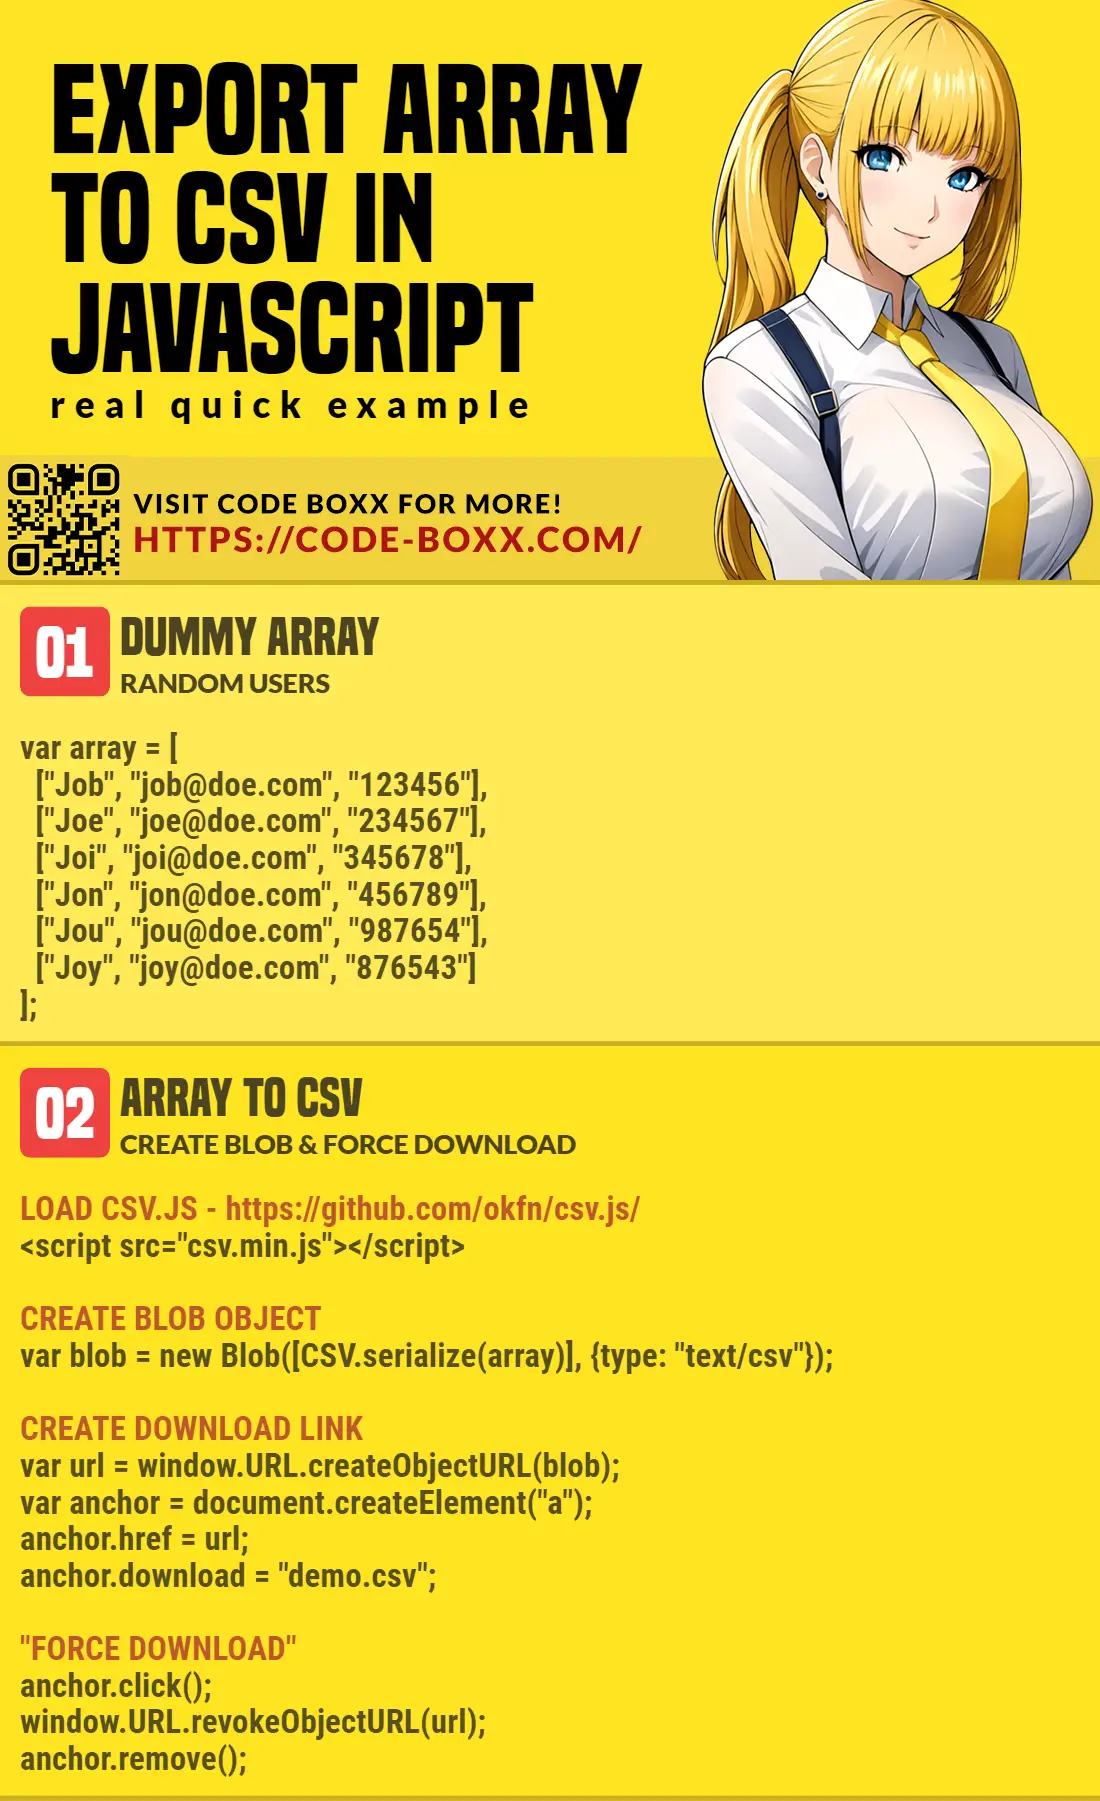
var array = [
["Job", "job@doe.com", "123456"],
["Joe", "joe@doe.com", "234567"],
["Joi", "joi@doe.com", "345678"],
["Jon", "jon@doe.com", "456789"],
["Jou", "jou@doe.com", "987654"],
["Joy, Doe", "joy@doe.com", "876543"],
];
// (B) CREATE BLOB OBJECT
var blob = new Blob([CSV.serialize(array)], {type: "text/csv"});
// (C) CREATE DOWNLOAD LINK
var url = window.URL.createObjectURL(blob);
var anchor = document.createElement("a");
anchor.href = url;
anchor.download = "demo.csv";
// (D) "FORCE DOWNLOAD"
// NOTE: MAY NOT ALWAYS WORK DUE TO BROWSER SECURITY
// BETTER TO LET USERS CLICK ON THEIR OWN
anchor.click();
window.URL.revokeObjectURL(url);
anchor.remove();
}Not going to explain this line-by-line, it should be pretty straightforward once you read through the code:
var arrayA nested array of dummy users.new Blob([CSV.serialize(array)], {type: "text/csv"})creates the CSV file. For the uninitiated,Blobis a “raw binary object”.- Due to security restrictions, client-side Javascript cannot directly save the CSV
Blob. Thus this entire “roundabout method” of creating a download link. - Lastly, offer the CSV file as a download.
METHOD 2) FILE STREAM
2A) THE HTML
<!-- (A) JS -->
<script src="csv.min.js"></script>
<script src="2-file-stream.js"></script>

<!-- (B) DOWNLOAD AS CSV -->
<input type="button" value="Demo" onclick="saveCSV()">
Same old story, we are using csv.js to generate the CSV file.
2B) THE JAVASCRIPT
async function saveCSV () {
  // (A) ARRAY OF DATA
  var array = [
    ["Job", "job@doe.com", "123456"],
    ["Joe", "joe@doe.com", "234567"],
    ["Joi", "joi@doe.com", "345678"],
    ["Jon", "jon@doe.com", "456789"],
    ["Jou", "jou@doe.com", "987654"],
    ["Joy, Doe", "joy@doe.com", "876543"],
  ];

  // (B) CREATE BLOB OBJECT
  var blob = new Blob([CSV.serialize(array)], {type: "text/csv"});

  // (C) FILE HANDLER & FILE STREAM
  const fileHandle = await window.showSaveFilePicker({
    suggestedName : "demo.csv",
    types: [{
      description: "CSV file",
      accept: {"text/csv": [".csv"]}
    }]
  });
  const fileStream = await fileHandle.createWritable();

  // (D) WRITE FILE
  await fileStream.write(blob);
  await fileStream.close();
}
But in this example, we are using an alternative way to save the generated CSV file, by creating a writable file stream.
- (A & B)
var array, blobThe same nested array of dummy users and “CSV blob”. - (C) The difference here is that we use Javascript to programmatically open a “save file as” window.
const fileHandle = await window.showSaveFilePicker()Open a “save as” dialog box.const fileStream = await fileHandle.createWritable()Create a file stream to the user’s chosen file.
- (D)
fileStream.write(blob)Write the CSV file.
P.S. Take note that “open save as window” is not supported on all browsers at the time of writing. See the “compatibility checks below”.
DOWNLOAD & NOTES

Here is the download link to the example code, so you don’t have to copy-paste everything.
SORRY FOR THE ADS...
But someone has to pay the bills, and sponsors are paying for it. I insist on not turning Code Boxx into a "paid scripts" business, and I don't "block people with Adblock". Every little bit of support helps.
Buy Me A Coffee Code Boxx eBooks
EXAMPLE CODE DOWNLOAD
Click here to download. I have released it under the MIT license, so feel free to build on top of it or use it in your own project.
EXTRA BITS & LINKS

That’s all for the tutorial, and here is a small section on some extras and links that may be useful to you.
LIMITATIONS
As you can see, we are writing an entire “CSV string” into a blob object. This works fine if you don’t have too many entries to deal with, but it will run into memory and performance issues with massive data. While it is possible to write “line-by-line” with the file stream method, it is not fully supported in all browsers.
COMPATIBILITY CHECKS
- Arrow Functions – CanIUse
- Show Save File Picker – CanIUse
- Create Writable – CanIUse
At the time of writing, the file stream method will not work on Firefox.
LINKS & REFERENCES
- Create & Save Files In Javascript – Code Boxx
- Javascript Read CSV Files Into Array/Object – Code Boxx
INFOGRAPHIC CHEAT SHEET
THE END

Thank you for reading, and we have come to the end. I hope that it has helped you to better understand, and if you want to share anything with this guide, please feel free to comment below. Good luck and happy coding!