Welcome to a quick tutorial and example on how to download an HTML canvas as an image in Javascript. So you have an HTML canvas that you want to offer as a download – No problem, we can do that with a few lines of code.
To download a canvas as an image file in Javascript:
var canvas = document.getElementById("CANVAS ID");var anchor = document.createElement("a");anchor.href = canvas.toDataURL("image/png");anchor.download = "IMAGE.PNG";anchor.click();
That covers the quick basics, but take note that forcibly clicking on the download link with Javascript may not always work. Read on if you need a detailed example!
TLDR – QUICK SLIDES
[web_stories_embed url=”https://code-boxx.com/web-stories/download-canvas-image-javascript/” title=”Download Canvas As Image In Javascript” poster=”https://code-boxx.com/wp-content/uploads/2021/11/STORY-JS-20230518.webp” width=”360″ height=”600″ align=”center”]
Fullscreen Mode – Click Here
TABLE OF CONTENTS
DOWNLOAD CANVAS

All right, let us now get into the example of how to download a canvas as an image.
DOWNLOAD CANVAS DEMO
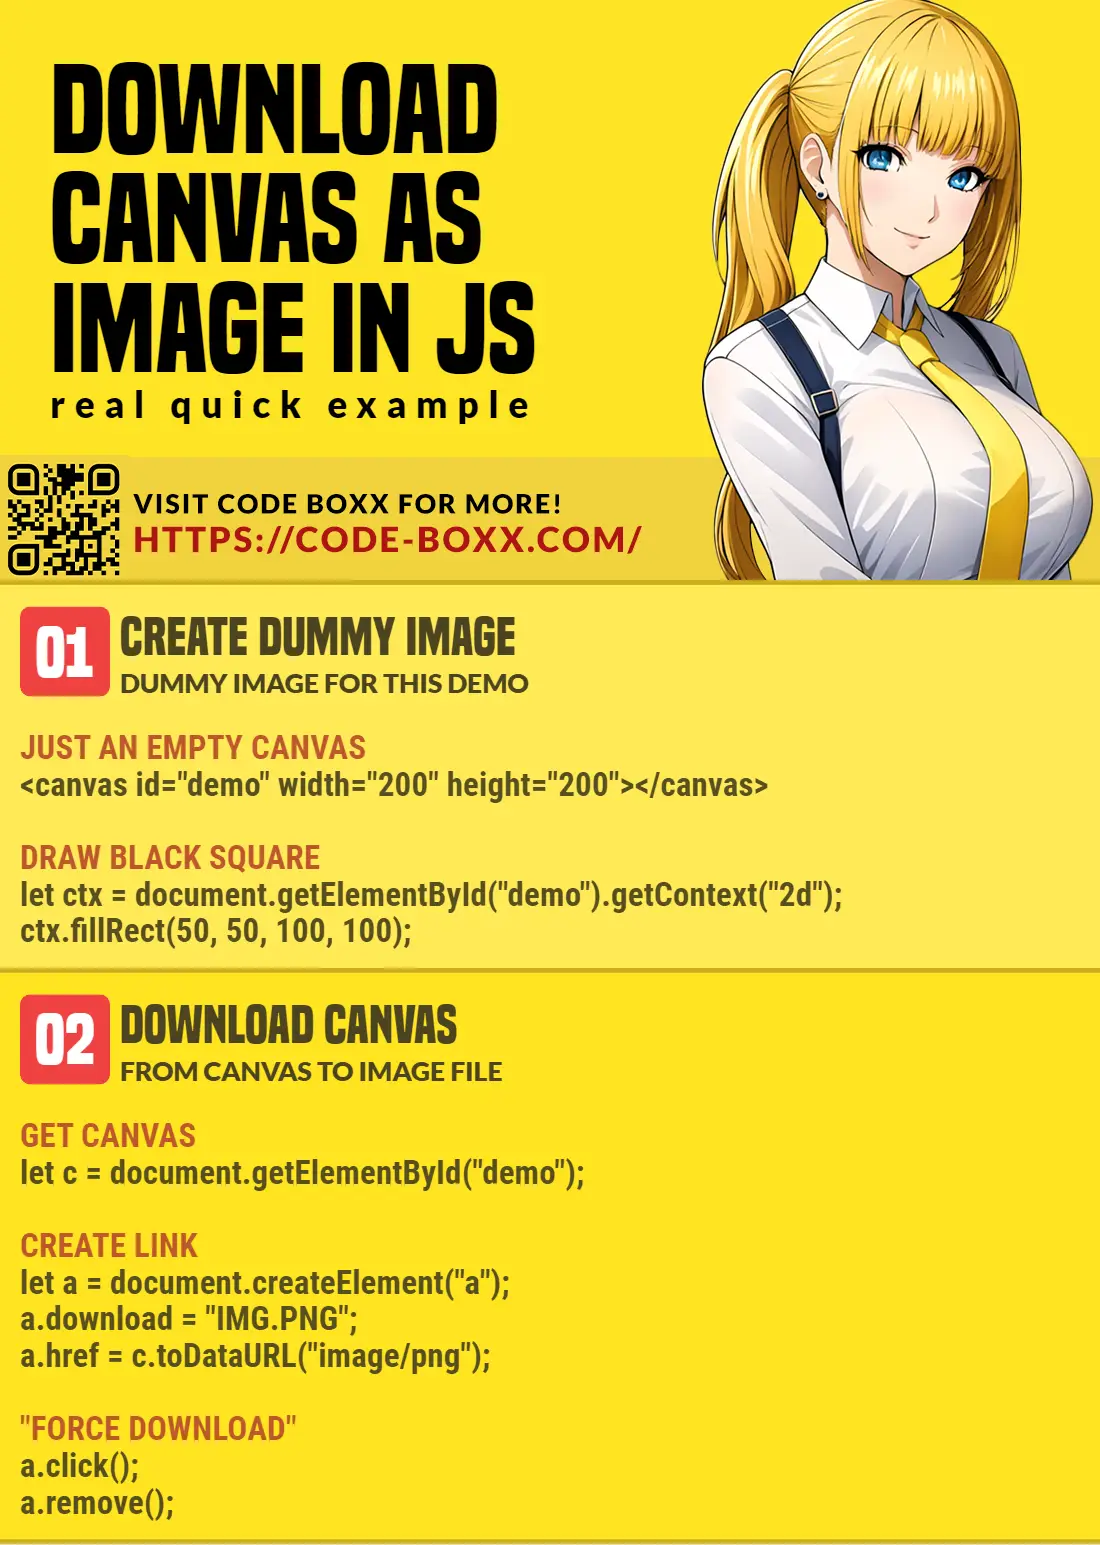
STEP 1) CREATE A DUMMY CANVAS
<!-- (A) DRAW DUMMY CANVAS -->
<canvas id="demo" width="200" height="200"></canvas>
<script>
let ctx = document.getElementById("demo").getContext("2d");
ctx.fillRect(30, 30, 50, 50);
ctx.fillRect(120, 30, 50, 50);
ctx.beginPath();
ctx.moveTo(10, 120);
ctx.bezierCurveTo(10, 180, 190, 180, 200, 120);
ctx.stroke();
</script>
Well, nothing much to see here. Just generating a dummy “smiley face” on the HTML canvas.
STEP 2) “FORCE” CANVAS DOWNLOAD
<!-- (B) GENERATE DOWNLOAD LINK -->
<input type="button" value="JPG" onclick="candown('demo', 'jpg')">
<input type="button" value="PNG" onclick="candown('demo', 'png')">
<input type="button" value="GIF" onclick="candown('demo', 'gif')">
<input type="button" value="WEBP" onclick="candown('demo', 'webp')">
<script>
function candown (target, type) {
  // (B1) GET CANVAS
  let canvas = document.getElementById(target);

   // (B2) CREATE LINK
  let anchor = document.createElement("a");
  anchor.download = "download." + type;
  anchor.href = canvas.toDataURL("image/" + type);

  // (B3) "FORCE DOWNLOAD"
  anchor.click();
  anchor.remove();

  // (B4) SAFER ALTERNATIVE - LET USER CLICK ON LINK
  // anchor.innerHTML = "Download";
  // document.body.appendChild(anchor);
}
</script>
This is pretty much doing the same stuff in the introduction snippet, but packaged into a function for your convenience:
- (B1) Get the HTML canvas.
- (B2) We create an HTML anchor link in Javascript –
var anchor = document.createElement("a") - (B2) Set the “download as” filename –
anchor.download = "image.png" - (B2) The magic happens when we do
anchor.href = canvas.toDataURL(MIME-TYPE). Yes, this sets a base 64 encoded data URL to it. - (B3) So-called “force download”. Take note, this trick may not work on all browsers – Some may not allow
click()on a link due to security settings. - (B4) The safer way is to attach the download link to the page itself –
document.SOMEWHERE.appendChild(anchor)
DOWNLOAD & NOTES

Here is the download link to the example code, so you don’t have to copy-paste everything.
SORRY FOR THE ADS...
But someone has to pay the bills, and sponsors are paying for it. I insist on not turning Code Boxx into a "paid scripts" business, and I don't "block people with Adblock". Every little bit of support helps.
Buy Me A Coffee Code Boxx eBooks
EXAMPLE CODE DOWNLOAD
Click here for the source code on GitHub gist, just click on “download zip” or do a git clone. I have released it under the MIT license, so feel free to build on top of it or use it in your own project.
EXTRA BITS & LINKS

That’s all for the tutorial, and here is a small section on some extras and links that may be useful to you.
COMPATIBILITY CHECKS
- Canvas – CanIUse
- To Data URL – CanIUse
This example works on all modern browsers.
LINKS & REFERENCES
- Canvas To Data URL – MDN
INFOGRAPHIC CHEAT SHEET
THE END

Thank you for reading, and we have come to the end. I hope that it has helped you to better understand, and if you want to share anything with this guide, please feel free to comment below. Good luck and happy coding!