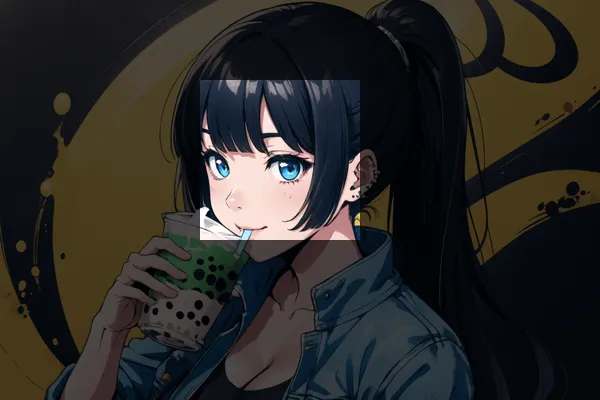
Welcome to a tutorial on how to crop images in NodeJS. In client-side (browser) Javascript, we have access to the Canvas API and can do all sorts of image yoga with it. But just how do we crop an image in NodeJS then?
We can install and use the sharp image library to easily crop images in NodeJS.
npm i sharpconst sharp = require("sharp");sharp("IMG.JPG").resize(100, 100).toFile("SAVE.JPG");
That covers the quick basics, but read on if you need more examples!
TABLE OF CONTENTS
DOWNLOAD & NOTES
Here is the download link to the example code, so you don’t have to copy-paste everything.
EXAMPLE CODE DOWNLOAD
Just click on “download zip” or do a git clone. I have released it under the MIT license, so feel free to build on top of it or use it in your own project.
SORRY FOR THE ADS...
But someone has to pay the bills, and sponsors are paying for it. I insist on not turning Code Boxx into a "paid scripts" business, and I don't "block people with Adblock". Every little bit of support helps.
Buy Me A Coffee Code Boxx eBooks
CROP IMAGES IN NODEJS
All right, let us now get into the examples of cropping images in NodeJS, using the Sharp image library.
QUICK SETUP
Run npm i sharp to install the required modules.
1) SIMPLE IMAGE CROP
// (A) LOAD SHARP
const sharp = require("sharp");

// (B) OPEN IMAGE FILE
sharp("demo.png")

// (C) CROP 150 X 150 SQUARE FROM CENTER
.resize(150, 150)

// (D) SAVE TO FILE
.toFile("demoA.png")

// (E) OPTIONAL - ON OK & HANDLE ERRORS
.then(info => console.log(info))
.catch(err => console.log(err));
This is the exact same as the introduction snippet, except for a few more extras.
- Self-explanatory. Load the Sharp library.
- Open the image.
- Take note, we crop the image using
resize(). Yes, this will extract to your specified dimensions with the center of the image as the reference point. - Save to file – This can be
jpg, gif, png, webp, tiff. - Optional. Do something on success, or handle the error.
2) MORE IMAGE CROP OPTIONS
// (A) LOAD SHARP
const sharp = require("sharp");

// (B) OPEN IMAGE FILE
sharp("demo.png")

// (C) CROP
.resize(150, 150, {
  // cover | contain | fill
  fit: "cover",
  // top | right top | right bottom | left top | left bottom
  position: "left top"
})

// (D) SAVE TO FILE
.jpeg({ quality: 30 }) // optional
.toFile("demoB.jpg")

// (E) OPTIONAL - ON OK & HANDLE ERRORS
.then(info => console.log(info))
.catch(err => console.log(err));
- (C) For you guys who don’t want to crop from the center, just provide a
position. - (D) To set the quality for JPG files, we can add a
jpeg({ quality: 30 })pipe before saving it.
3) CROP EXACT LOCATION
// (A) LOAD SHARP
const sharp = require("sharp");

// (B) OPEN IMAGE FILE
sharp("demo.png")

// (C) EXTRACT FROM SPECIFIED COORDINATES
.extract({
  left: 200, top: 80,
  width: 160, height: 160
})

// (D) SAVE TO FILE
.toFile("demoC.png")

// (E) OPTIONAL - ON OK & HANDLE ERRORS
.then(info => console.log(info))
.catch(err => console.log(err));
Lastly, if you want to crop “very exact pixels” – Don’t use resize(), use extract().
EXTRAS
That’s all for the tutorial, and here is a small section on some extras and links that may be useful to you.
LINKS & REFERENCES
- Sharp – GitHub
- Sharp Resize Image
OTHER IMAGE LIBRARIES
If you don’t like Sharp, there are other image libraries in NodeJS. But since Sharp claims to be the fastest, I will take their word for it.
THE END
Thank you for reading, and we have come to the end. I hope that it has helped you to better understand, and if you want to share anything with this guide, please feel free to comment below. Good luck and happy coding!
